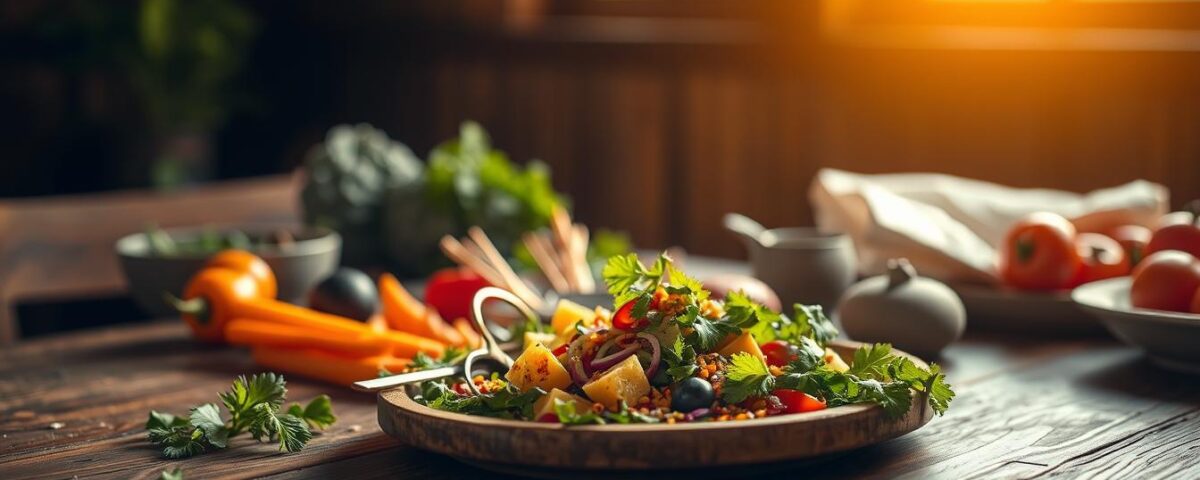
7 Food Photography Tricks That Instantly Level Up Your Instagram
May 29, 2025
The Ultimate Guide to Plating and Styling Dishes for Photos
May 30, 2025Did you know 95% of aspiring food photographers abandon their cameras within six months due to poor lighting? I nearly became part of that statistic—until I discovered the magic hiding right outside my window.
Like many beginners, I spent months battling harsh shadows and lifeless plates. Auto mode became my nemesis, turning vibrant dishes into murky blobs. Then one rainy afternoon, I moved my setup near a foggy kitchen window. The difference was stunning—suddenly my avocado toast looked like it belonged in a gourmet magazine.
This guide distills eight years of trial-and-error into actionable strategies. You’ll learn to transform ordinary daylight into your secret weapon, whether you’re shooting steaming coffee mugs or decadent chocolate cakes. No fancy equipment needed—just practical techniques for controlling brightness and mood.
We’ll explore how window direction changes flavor perception (yes, really!), why cloudy days are a gift, and how to salvage shots when the sun plays hide-and-seek. I’ll even share my embarrassing early attempts to keep things real—like the time I accidentally made soup look radioactive.
Key Takeaways
- Window positioning dramatically affects texture and depth
- White foam boards outperform expensive reflectors
- Morning light creates different moods than afternoon glow
- Manual settings unlock creative control
- Consistent practice trumps perfect conditions
Natural light food photography: Essential Concepts
Mastering daylight starts with understanding its three core qualities: intensity, color temperature, and direction. These elements transform ordinary dishes into mouthwatering masterpieces. Think of them as your invisible ingredients—they shape shadows, highlight textures, and make sauces glisten.
| Quality | What It Means | Food Impact |
|---|---|---|
| Intensity | Brightness level | Soft vs dramatic shadows |
| Color Temp | Warm or cool tones | Mood enhancement |
| Direction | Light angle | Texture definition |
Your main light source isn’t just the sun—it’s how sunlight interacts with your shooting space. A north-facing window creates soft, even illumination perfect for delicate pastries. South-facing ones deliver stronger contrasts that make grilled meats pop.
I learned the hard way that cameras see light differently than human eyes. My first food shots looked flat until I adjusted the ISO to match my kitchen’s brightness. Now I shoot manual 90% of the time—it lets me bend the light instead of fighting it.
Three terms will change your game: exposure (total light captured), aperture (light intake size), and shutter speed (light duration). Start by observing how morning rays make coffee steam look magical versus afternoon’s golden soup glow. Practice spotting these differences daily—it trains your eye faster than any tutorial.
Assessing and Setting Up Your Lighting Environment
Your kitchen window holds more power than you think—it’s the ultimate tool for transforming everyday meals into visual feasts. I discovered this during a chaotic brunch shoot where my waffles kept looking dull. Moving the plate three feet closer to the east-facing glass changed everything.
Evaluating Your Window and Light Source
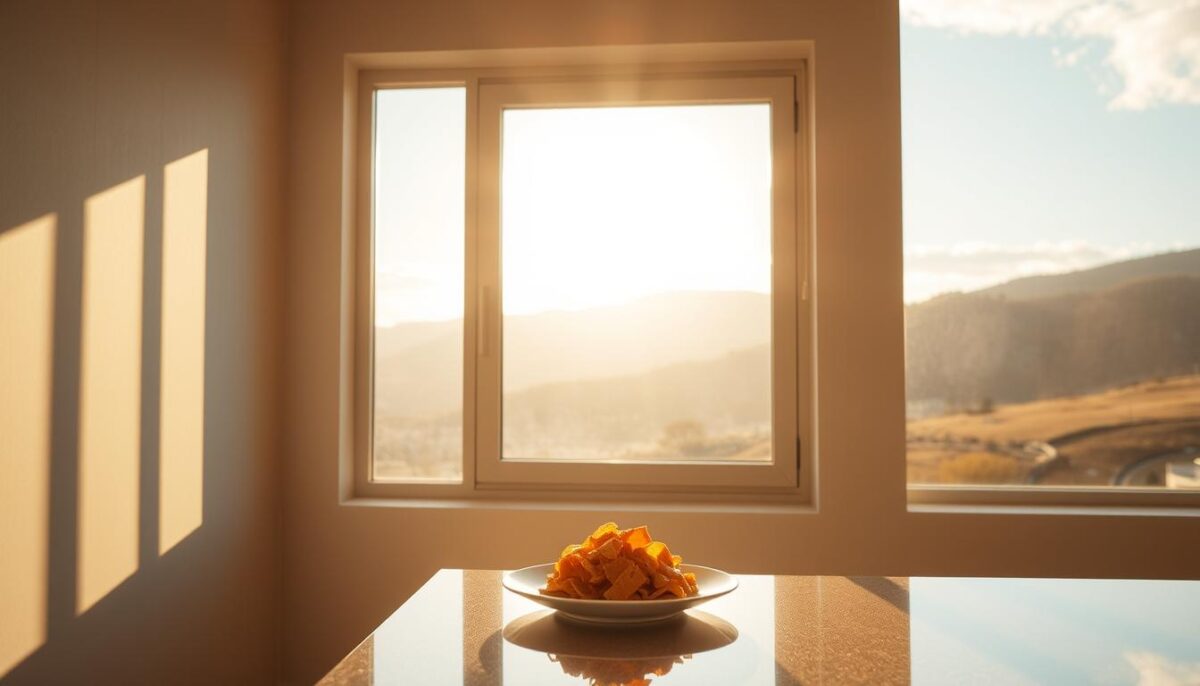
Start by facing your window and checking compass direction. East-facing openings give soft morning glow—perfect for breakfast shots. West-facing ones deliver intense afternoon warmth that makes roasted veggies sing. Here’s how different orientations affect results:
| Direction | Best For | Watch Out For |
|---|---|---|
| North | Even shadows | Low brightness |
| South | Strong contrast | Harsh midday rays |
| East | Gentle mornings | Early cut-off |
| West | Dramatic evenings | Changing colors |
I keep a $2 foam board from the craft store near my setup. It bounces sunlight onto dark areas without creating weird reflections. Position it at 45 degrees—this simple trick saved my gloomy soup shots last winter.
Understanding Variations Throughout the Day
Morning’s blue tones make coffee steam pop, while afternoon’s golden hues turn broths into liquid amber. I track these shifts using a free light-tracking app. Unexpected clouds? Don’t reshoot—adapt your settings. Lower ISO first, then adjust shutter speed.
When the sun dips too low, I supplement with artificial light at 30% brightness. Match its color temperature to remaining daylight using your camera’s white balance. Watch for spill from the next window—a tension rod with black fabric solves this in seconds.
Remember: Great shots come from observing, not perfect conditions. My first successful burger photo happened during a thunderstorm—the moody atmosphere made the melted cheese unforgettable.
Choosing and Configuring the Right Camera and Settings
The moment I stopped letting my camera think for me, my dishes started speaking their own delicious language. Auto mode kept turning my golden-brown croissants into gray lumps, until I discovered manual controls could capture their true flaky glory.
My Journey from Auto to Manual Exposure
For two years, I relied on auto like training wheels. Then I noticed pro photographers always adjusted three numbers: aperture, shutter speed, and ISO. My breakthrough came shooting lemon tarts—manual let me freeze dripping caramel while keeping crust details crisp.
Start with aperture priority mode. It lets you control depth of field while the camera handles other settings. I shoot soups at f/4 to blur steam, but use f/8 for flat lays needing edge-to-edge sharpness.
Optimizing Camera Settings Across Devices
DSLRs give most control—I use 1/125 shutter speed for handheld shots. Mirrorless cameras excel in low light with cleaner high ISO performance. For iPhones, tap to focus then slide brightness up slightly. The Lightroom Mobile app unlocks manual settings even on smartphones.
Cloudy days need ISO 400-800. Direct sunlight? Drop to ISO 100. Always use a tripod when shooting below 1/60 shutter speed—I repurposed a $15 selfie stick as a mini tabletop stand. These lighting tips work whether you’re capturing sizzling steaks or delicate salads.
Your best shot comes from testing combinations. Try f/2.8 with 1/200 shutter for pouring shots. For melting cheese pulls, bump ISO to 800. Remember: editing can fix exposure slips, but nailing settings in-camera saves hours later.
Techniques for Controlling and Modifying Natural Light
Controlling daylight transformed my soggy sandwich shots into crisp masterpieces. Through countless experiments, I discovered two game-changing tools: diffusers for softening harsh beams and foam boards for taming shadows. These affordable solutions became the secret weapons in my toolkit.
Using Diffusers and White Foam Boards
A sheer curtain became my first diffuser—hung between the window and plate to create dreamy, restaurant-quality lighting. For stronger sun, I use professional-grade diffusion paper taped to a PVC frame. This creates gentle transitions between bright and dark areas, making sauces glisten without harsh glare.
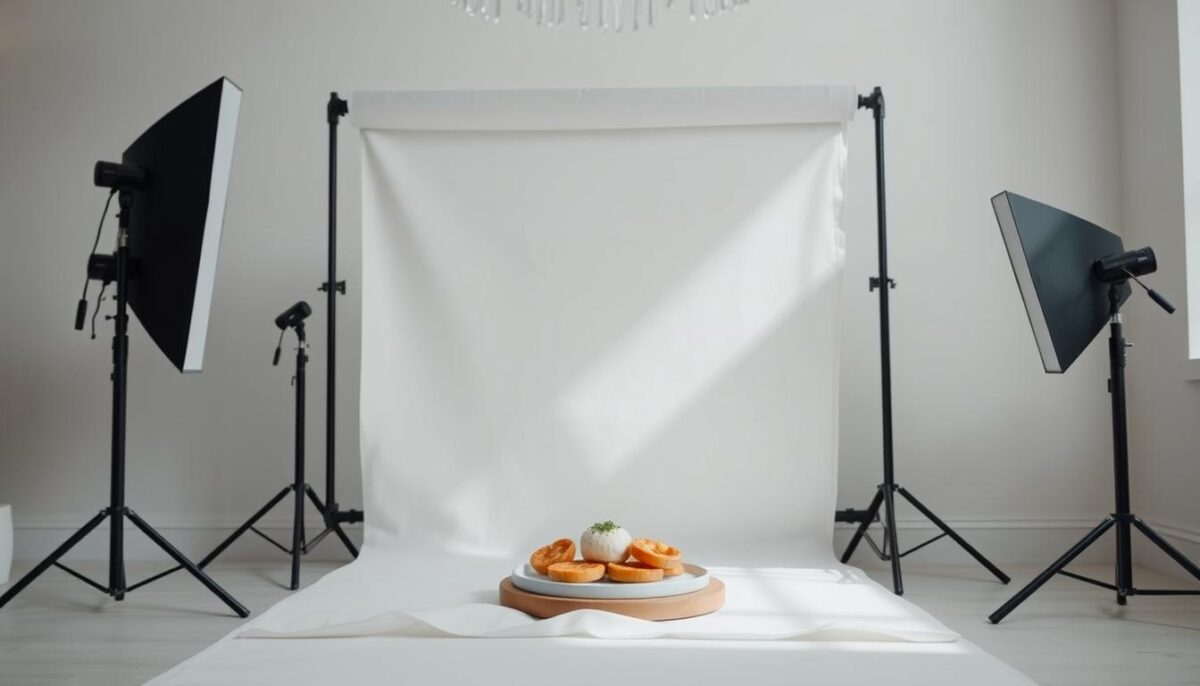
White foam boards saved me a lot of frustration. I position them opposite my main light source at 45-degree angles. For chocolate desserts, I use silver foil on one side for extra reflection. This $3 solution fills shadows better than my old $80 reflector.
Balancing Shadows and Highlights for a Perfect Look
Direct light creates dramatic contrasts—ideal for textured breads. Diffused light works better for smooth soups. I test both options during setup by moving my hand between the window and subject. The shadow sharpness tells me what kind of modifier to use.
My step-by-step process: 1) Position main light source 2) Add diffuser if shadows look too harsh 3) Place foam board to brighten darkest areas 4) Snap test shots while adjusting distances. This method became part of my daily routine, adapting easily depending on the day’s conditions.
Remember—there’s no single “right” setup. The specific look you want determines your approach. Crisp morning light needs different handling than golden hour glow. Keep experimenting until shadows enhance rather than distract from your dish.
Incorporating Artificial Light to Enhance Natural Effects
Sunlight doesn’t always cooperate—but your creativity can. While I prefer working with daylight, my Godox SL-150W LED light has saved countless shoots. Last winter, I balanced it with fading afternoon rays to make chili oil glisten like liquid rubies.
Creating Hard and Soft Lighting with Reflectors
My 5-in-1 reflector kit costs less than dinner out but delivers Michelin-star results. Silver surfaces create crisp shadows perfect for highlighting bread crusts. White diffusion panels soften harsh midday beams better than sheer curtains.
| Light Type | Best For | Positioning |
|---|---|---|
| Hard | Textured foods | 45° from subject |
| Soft | Delicate dishes | Bounced off ceiling |
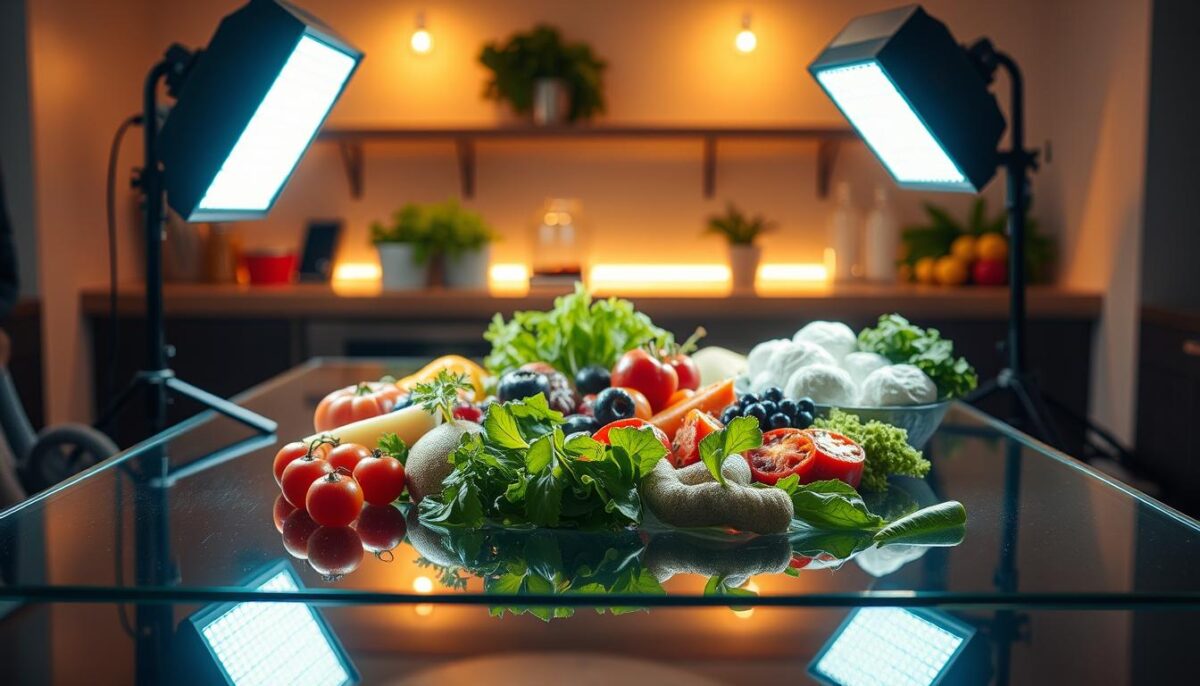
Mixing LED Lights to Mimic the Sun’s Effect
I dial my LED to 5600K to match daylight, then angle it like morning sun through a window. For golden hour warmth, I layer 3200K lighting on the opposite side. This technique transformed my flat soup shots into dimensional masterpieces.
Key tips: Start with 30% artificial brightness. Use foam boards to blend sources seamlessly. Test different ratios—sometimes a 2:1 difference between natural and LED creates magic. Remember: Your goal isn’t to replace daylight, but to dance with it.
Creative Styling, Props, and Composition Tips
Working with food stylist Brendan McCaskey taught me that great plates need partners in crime. During a berry tart shoot, he handed me a rusted teaspoon—”This tells a story of summer picnics,” he said. Suddenly, our dessert wasn’t just pretty—it had history.
Collaborating with Food Stylists for Bold Visuals
Brendan and I developed a system: He arranges elements for maximum texture, while I adjust angles to catch daylight’s dance. Our best shot happened when he sprinkled salt crystals near a soup bowl—the unexpected crunch added tactile energy the camera loved.
Enhancing Color and Texture Through Thoughtful Composition
I keep a “prop library” with thrifted plates and textured linens. For vibrant dishes, neutral backgrounds make colors pop. Earthy ceramics enhance roasted veggies better than sleek white plates. Always ask: “Does this item serve the story?”
Three composition tricks changed my work: 1) Use odd numbers of garnish pieces 2) Angle utensils toward the frame’s edge 3) Leave “breathing space” around the hero dish. These simple ways guide eyes without force.
Documenting our process for my blog transformed how I approach shoots. Readers loved seeing our failed attempts—like the time we used 14 forks before finding “the one.” Now I mind the details differently, knowing even subtle shifts create better photos.
Post-Processing and Editing for Stunning Results
Editing transformed my chaotic raw files into magazine-worthy spreads—it’s where good shots become unforgettable. My early attempts looked like neon nightmares until I learned to respect the original lighting while enhancing its hidden beauty.
My Favorite Editing Techniques Using Lightroom and Photoshop
I start in Lightroom with basic exposure fixes. A trick from pro retouchers: adjust shadows before highlights to maintain depth. For camera settings mishaps, I use gradient filters to salvage overexposed areas.
Photoshop enters the game for precision work. The “frequency separation” technique became my secret weapon—it smooths imperfections without losing texture. Always duplicate layers first—you’ll thank yourself later.
Refining the Exposure and Contrast in Your Food Shots
Natural-looking edits require restraint. I boost contrast using curves instead of sliders for smoother transitions. Check your histogram—clipped highlights turn sauces into blank spaces.
When you’re shooting in tricky light, the dehaze tool rescues murky backgrounds. For fresh produce suppliers showcasing vibrant ingredients, I selectively saturate colors using layer masks. Remember: subtlety wins every time.
Conclusion
Every dish has its perfect moment under the sun – or beside a well-placed lamp. You’ve now got the tools to transform ordinary ingredients into beautiful food stories, from mastering your shutter speed to bouncing light with a simple reflector.
Start small. Grab a foam board and play with window angles. Try shooting the same meal at different times – notice how morning crispness differs from afternoon warmth. Make sure your setup evolves as you learn.
Hungry for more? My free mini course dives deeper into balancing natural and artificial sources. You’ll get cheat sheets for tricky lighting scenarios and weekly challenges to sharpen your eye.
Remember: Great shots aren’t about perfect conditions. They’re about seeing possibilities in every shadow and highlight. Now go get started – your next masterpiece is waiting to be plated.
FAQ
How do I evaluate my window setup for better shots?
I always start by checking the direction and intensity of sunlight. Position your subject near the window but avoid direct harsh beams. Use sheer curtains or move back slightly to soften the glow.
Why does manual mode work better than auto for food photos?
Auto settings often overcompensate, washing out textures. With manual control, I adjust aperture and shutter speed to highlight details like steam or crispy edges—things auto mode might miss.
Can I use household items to modify lighting?
Absolutely! A white foam board acts as a cheap reflector. For diffusion, try tracing paper or a thin bedsheet. I’ve even used aluminum foil to bounce light onto darker dishes.
What’s the best time of day for shooting near a window?
Early morning or late afternoon provides softer, golden tones. Midday sun can be too intense, but if that’s your only option, angle your setup sideways and use a diffuser.
How do LED lights blend with natural sources?
I use adjustable LEDs set to match the sun’s color temperature (around 5500K). Place them opposite your main window to fill shadows without creating conflicting color casts.
What editing steps make the biggest impact?
In Lightroom, I tweak shadows/highlights to recover details. Photoshop’s dodge/burn tools help emphasize textures. Always sharpen selectively—overdoing it makes food look artificial.
Should I collaborate with a stylist for better visuals?
If you’re stuck, yes! A stylist taught me to use glycerin for dewy veggies and toothpicks to prop up ingredients. It’s a game-changer for creating dynamic, “lived-in” shots.
How do I avoid flat-looking images with an iPhone?
Tap to focus, then slide the exposure slider down slightly. Use portrait mode for depth, and clean your lens first—greasy fingerprints kill clarity. A mini tripod helps stabilize handheld shots.
