Jamaican Vibes: How to Make Jerk Chicken and Coconut Rice
May 2, 2025
Tastes of Iran: Persian Rice, Kebabs, and the Magic of Saffron
May 2, 2025I’ll never forget the first time I bit into a golden, caramelized waffle at a tiny café abroad. The crunch of crystallized sugar, the hint of malt, and that irresistible aroma—it felt like tasting history. That moment sparked my mission to recreate these treasures at home, and today, I’m sharing every secret I’ve learned.
My early attempts were… comical. Dense batter, floppy textures, and a sad lack of that signature crunch. Then I discovered the magic of yeasted dough and Belgian Pearl Sugar—game-changers that transformed my cooking routine. Paired with a richly flavored ale, these treats became my weekend ritual.
This guide isn’t just about recipes. It’s about capturing the spirit of street vendors in Brussels and Liege through your waffle iron. We’ll use a Strong Pale Ale to boost the batter’s depth, while vanilla adds warmth to balance the beer’s boldness. Quality matters here—I source my sugar from specialty shops and consult resources like BeerAdvocate Magazine for perfect pairings.
Key Takeaways
- Yeasted batter creates airy texture with crisp edges
- Pearl Sugar caramelizes for signature crunch
- Beer enhances flavor complexity in both batter and pairings
- Cast iron waffle makers ensure even heat distribution
- Resting the dough develops richer flavors
- Mixing bowls with spouts prevent batter spills
Introduction and My Belgian Culinary Journey
Growing up, Saturday mornings meant one thing: the smell of caramelized sugar wafting from our cluttered kitchen. My mom’s waffle iron would hiss like a contented cat as she poured batter made with farm-fresh eggs and real vanilla. Those golden grids weren’t just breakfast—they were edible hugs.
The Day Everything Changed
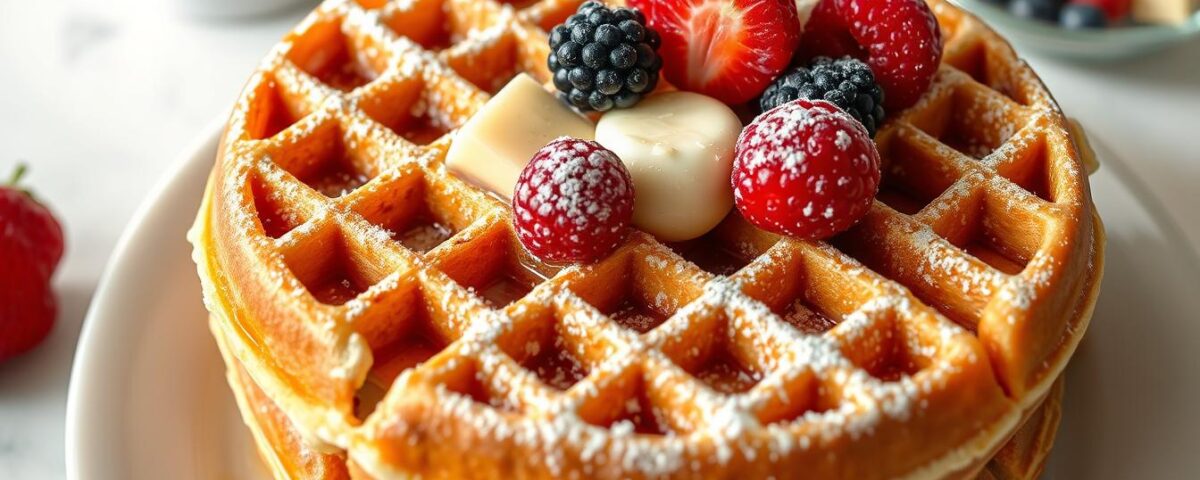
My college trip to Brussels shattered my waffle worldview. Street vendors served creations with crackling crusts and airy centers—nothing like the doughy discs at chain restaurants. One bite of that belgian waffles masterpiece, and I vowed to crack the code.
More Than Just a Recipe
This guide pours 15 years of trial into your mixing bowls. I’ve burned batches, over-yeasted doughs, and learned why beer matters in both batter and pairings. The secret? It’s not just ingredients—it’s patience. Letting the batter rest creates those signature nooks that trap syrup and nostalgia.
You’ll discover:
- Why most “Belgian-style” waffles miss the mark
- How yeast transforms texture from spongy to sublime
- The tool that outshines every trendy appliance (hint: it’s cast iron)
Essential Ingredients, Tools, and Techniques
Mastering these golden-gridded treats starts with three non-negotiables: precision, patience, and the right components. Let’s break down what truly matters in your kitchen setup.

Sourcing Quality Components
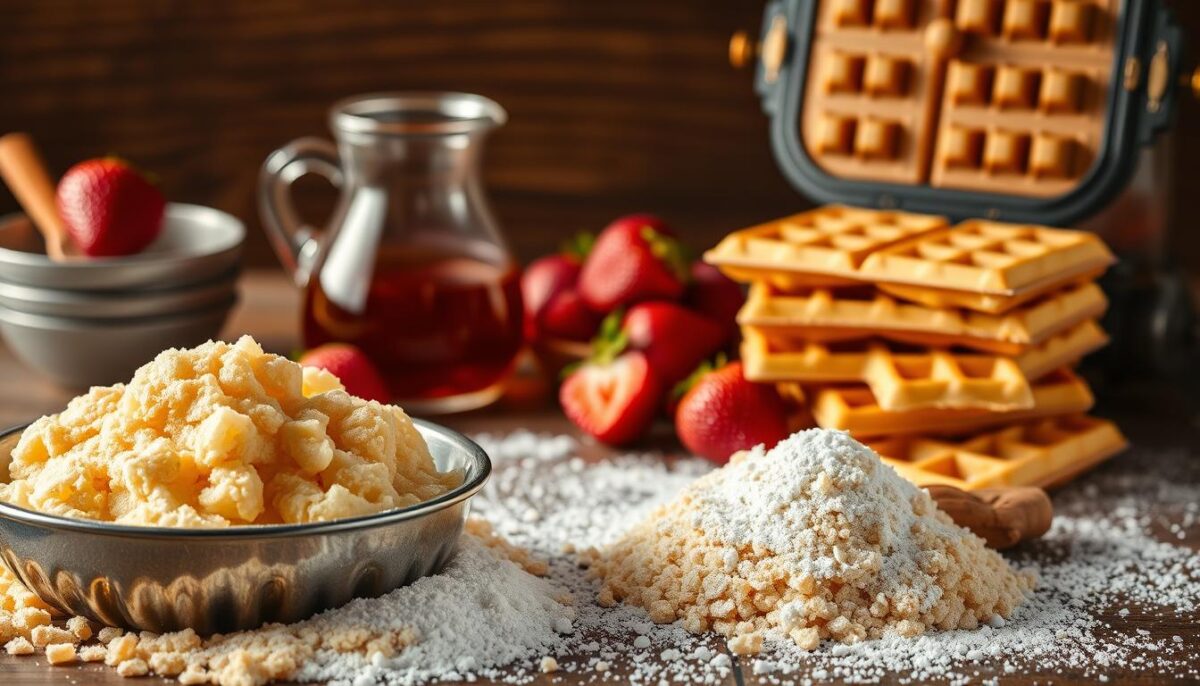
Pearl Sugar makes all the difference—its large crystals create that addictive crunch. I get mine from specialty baking stores or European import shops. For flour, blend all-purpose with a tablespoon of malted barley to mimic traditional depth.
When selecting beer, opt for yeast-forward varieties like Heineken or Delirium Tremens. Their natural carbonation lifts the batter, while subtle malt notes complement the vanilla and milk. Always use room-temperature brews—cold liquids hinder rising.
Kitchen Tools Essentials
A cast-iron appliance distributes heat evenly, preventing soggy centers. My $25 vintage model outperforms any nonstick gadget. Pair it with copper mixing bowls—they regulate temperature better than stainless steel during proofing.
Measure dry ingredients to the gram. Too much flour creates boulders, not clouds. For liquids, glass measuring cups reveal exact milky pours. And never skip sifting—it aerates the mixture for that signature airy texture.
Rest your batter 45 minutes after mixing. This lets the yeast work its magic, creating those crave-worthy nooks. Time transforms simple ingredients into something extraordinary—one bubbly sigh at a time.
Step-by-Step Guide to Making “Belgian waffles stews beer”
There’s a rhythm to crafting these treasures—a dance between precision and intuition. Let me walk you through each movement, from bubbly batter to that first satisfying crunch.
Preparing the Yeasted Batter and Beer-Infused Mixture
Start by proofing active dry yeast in warm milk—watch for foam to form like a science experiment. Whisk in flour, a pinch of salt, and that secret splash of beer from the bottle’s bottom. The sediment adds malty depth most recipes miss.
Fold whipped egg whites last—they’re the cloud-makers. Let the batter rise until it sighs and doubles. This waiting game creates those air pockets that syrup later drowns in happiness.
Cooking Techniques and Creative Pairings
Heat your waffle iron hotter than you’d think—smoke should whisper, not shout. Pour a cup of batter, then scatter sugar crystals across the surface. They’ll melt into crackling armor as the lid closes.
| Iron Setting | Texture Result | Perfect For |
|---|---|---|
| High Heat | Crispy Shell | Classic street-style |
| Medium Heat | Chewy Center | Fruit toppings |
| Low Heat | Cake-like | Breakfast sandwiches |
Adjusting the Recipe for Perfect Texture and Flavor
Too thick? Add milk one tablespoon at a time. Too runny? Dust in flour like snowfall. I test consistency by lifting the whisk—ribbons should hold shape briefly before dissolving.
For softer results, pull treats off the iron early. Crave crunch? Let them bronze an extra 30 seconds. Serve with vanilla-laced yogurt or drizzle with malt syrup for that nostalgic fairground vibe.
Conclusion
There’s pure magic in sharing homemade treats that transport friends to cobblestone streets abroad. Through years of testing, I’ve found that success lies in three essentials: quality ingredients, patience, and trusting the process. Those sparkling sugar crystals and yeasted batter aren’t just components—they’re time capsules of tradition.
My kitchen victories came when I measured precisely and let the dough rest fully. That’s when the air pockets form, ready to cradle syrup or fruit. Your waffle iron becomes a portal to Brussels when heated properly—listen for that sizzle as batter meets metal.
Don’t fear tweaking flavors! Swap vanilla for orange zest or try amber ales in the mixture. The best part? These recipes adapt to your taste while keeping their soul. Share your creations online, and if you’d like weekly tips, my newsletter explores global dishes with local twists.
Remember: Great cooking isn’t about perfection. It’s about the joy of transforming flour, sugar, and care into something unforgettable. Now grab that mixing bowl—your own golden masterpiece awaits.
FAQ
Can I substitute the beer in the batter with something non-alcoholic?
Absolutely! I’ve used sparkling water, apple juice, or even ginger ale to keep the batter light and airy without alcohol. Just adjust the sugar slightly if your substitute is sweeter.
How do I prevent my batter from sticking to the waffle iron?
A well-seasoned or non-stick iron is key. I also lightly brush mine with melted butter or neutral oil before each pour. Trust me—it makes all the difference!
What’s the best way to pair stews with beer for beginners?
Start with classic matches: rich, dark ales with hearty meat stews or lighter wheat beers with veggie-based recipes. Taste as you go—balance is everything!
Can I make the recipe gluten-free?
Yes! I’ve had success using a 1:1 gluten-free flour blend and ensuring your beer (if used) is certified gluten-free. The texture might be slightly denser, but still delicious.
How do I store leftover batter or stew?
Batter keeps in the fridge for up to 2 days—just give it a gentle stir before using. Stews can be frozen for 3 months. Reheat slowly to preserve flavors.
Why does my batter sometimes taste too yeasty?
Over-fermentation can cause this. If your kitchen is warm, reduce the rising time by 15–20 minutes. I always set a timer to avoid overproofing!


