The Home Barista’s Morning Routine: 8 Hacks for Better Coffee
April 18, 2025
How to Create a DIY Coffee Bar at Home (on a Budget)
April 18, 2025Ever found yourself staring at your coffee maker at 6 a.m., too tired to deal with filters, timers, or noise? I’ve been there. For years, I thought good coffee required effort—until I discovered a way to make it effortlessly rich, smooth, and ready when I am. No fancy gear. No patience needed. Just pure, lazy brilliance.
Let me take you back to last summer. My old drip machine broke, and I refused to replace it. Desperate, I threw coarse grounds into a mason jar with water, left it overnight, and strained it through a sieve. The result? The smoothest, least acidic cup I’d ever tasted. Turns out, ignoring complicated steps was the secret all along.
This method isn’t about perfection—it’s about working smarter, not harder. You’ll need just two ingredients and a container. No special skills. No waiting days for results. I’ll walk you through every detail later, but trust me: if I can do this half-awake, you’ve got this.
Key Takeaways
- Skip complex tools—basic kitchen items are all you need.
- Achieve a smooth, low-acid flavor with minimal effort.
- Prep once and enjoy ready-to-drink caffeine all week.
- Customize strength and sweetness without guesswork.
- Perfect for busy mornings or afternoon pick-me-ups.
Introduction to My Lazy Genius Approach
There’s a quiet revolution happening in kitchens across America, and it starts with a jar. My obsession began when I ditched the morning grind (literally) for something simpler. Why fuss with filters when gravity does the work?
Why I Swear By This at Home
Three words: control, consistency, convenience. Traditional hot methods left me with bitter results, but steeping grounds in cool water changed everything. Research from Simply Recipes confirms it: “12 hours of extraction mellows acidity while amplifying natural sweetness.” My taste buds agree.
Here’s the magic: Time becomes your ally, not your enemy. Prep takes 5 minutes at night. By sunrise, you’ve got a silky concentrate that lasts days. No more burnt flavors or mid-afternoon crashes—just pure, adaptable energy.
Benefits Over Hot Shortcuts
Hot brewing rushes chemical reactions, pulling harsh compounds into your cup. The lazy way? It coaxes flavors out gently. Think chocolatey undertones instead of acidic bite. Even better: dilute it, heat it, or pour it over ice without losing character.
“Cold extraction preserves delicate oils that heat destroys.”
My recipe? Combine 1 cup coarse grounds with 4 cups water. Stir once. Wait. Strain. That’s it—your future self will high-five you. Ready to trade complexity for clarity?
Essential Equipment and Ingredients
Your kitchen probably already holds everything required for barista-level results. Forget specialty gadgets—this approach thrives on simplicity. Let’s break down what truly matters for flavor that’ll make you ditch coffee shops.

Choosing the Right Coffee Beans and Grinding Them
Beans make or break your brew. I look for medium-dark roasts with chocolate or nutty notes—they extract beautifully in water. Single-origin? Blends? Both work, but freshness matters most. Buy whole beans and grind them yourself.
Grind size is non-negotiable. Too fine, and you’ll get sludge. Too coarse, and flavor stays locked in. Aim for sea salt texture—this prevents over-extraction. My $20 burr grinder does the job perfectly.
| Grind Type | Texture | Result |
|---|---|---|
| Coarse | Chunky, uneven | Weak flavor |
| Ideal | Sea salt consistency | Balanced taste |
| Fine | Powdery | Bitter, muddy |
Selecting Water and Other Basic Essentials
Tap water’s minerals can clash with your beans. Filtered water lets natural flavors shine. For equipment, grab:
- A 32-oz mason jar (or any airtight container)
- Cheesecloth or a reusable nut milk bag
- Wooden spoon for stirring
Total cost? Under $15 if you thrift the jar. Pro tip: Skip paper filters—they trap oils that add richness. A mesh sieve lined with cheesecloth works better.
“Quality in, quality out. Start with good beans and clean water—the rest follows.”
Mastering the Cold brew coffee method
Transform your mornings with a method so simple, you’ll wonder why you ever bothered with complicated gadgets. The magic happens while you sleep—no fancy gear, just patience and a few key steps. Let’s break down the process that turns humble beans into liquid gold.
Step-by-Step Grinding, Mixing, and Steeping
Start with whole beans and grind them to a sea salt consistency. Too fine? You’ll get sludge. Too chunky? Flavor stays trapped. My $20 burr grinder nails this every time. For every cup of grounds, use four cups of filtered water—this ratio never fails me.
Combine them in a glass jar or French press. Stir gently to ensure all grounds are soaked. Let it sit on the counter for 12 hours—no peeking! Research from Simply Recipes confirms this sweet spot extracts maximum flavor without bitterness.
Straining Techniques for a Smooth Brew
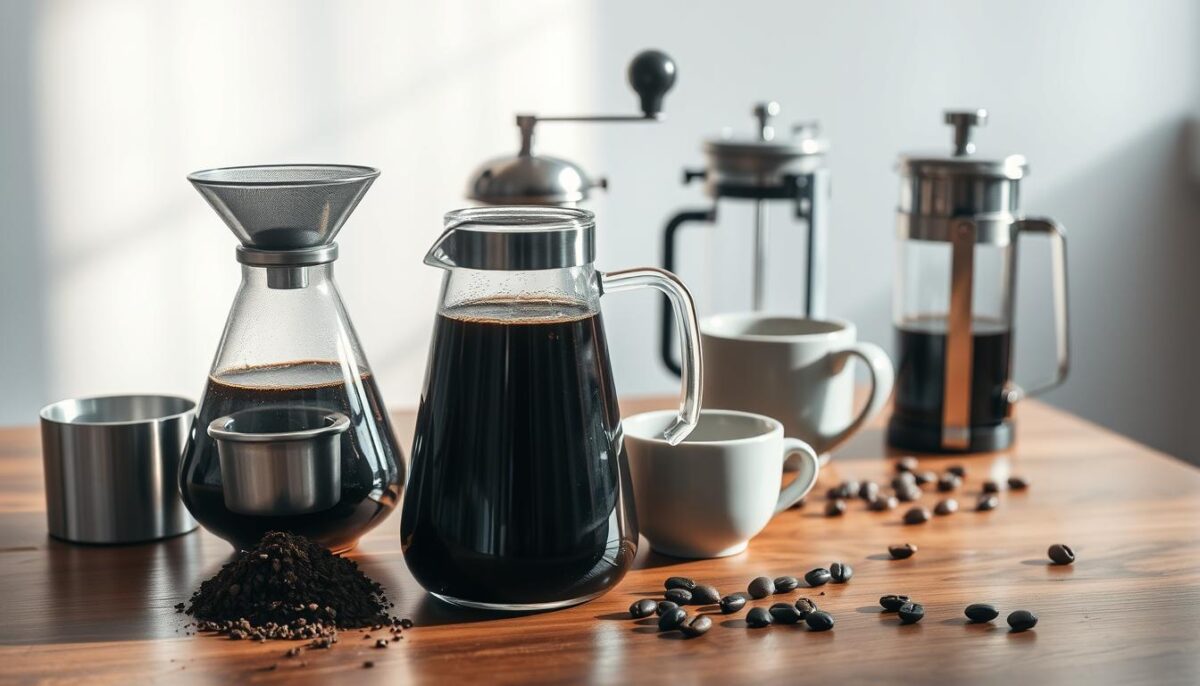
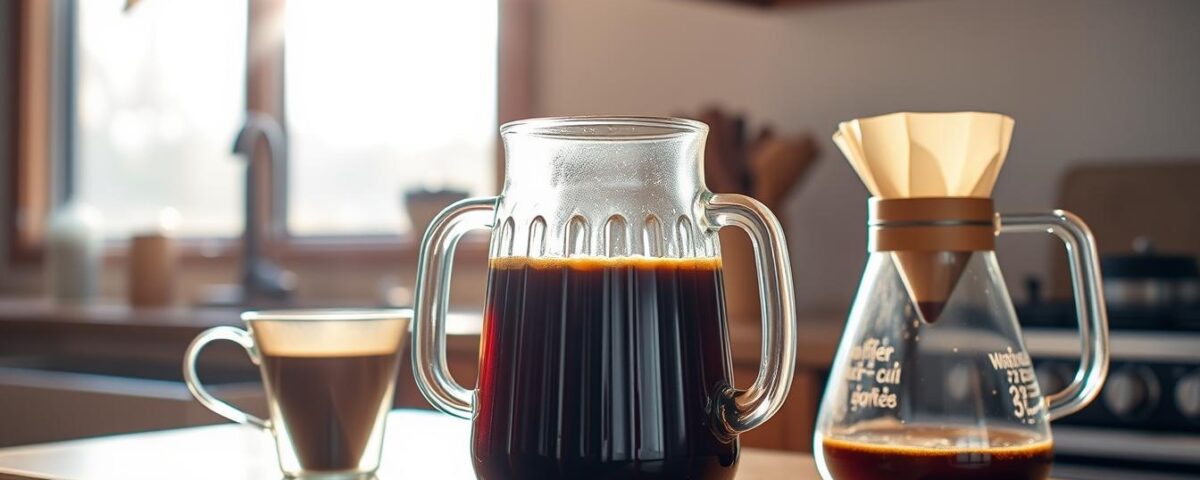
Time to separate the goods from the grounds. If using a jar, line a mesh strainer with cheesecloth. Pour slowly—let gravity do the work. For French press fans? Just press the plunger down. Either way, you’ll avoid gritty surprises.
Double-strain if you’re picky. A second pass through cheesecloth catches stray particles. Store the concentrate in a glass bottle for up to a week. Pro tip: Label it unless you want confused roommates drinking it straight!
“Slow straining preserves clarity. Rushing here undoes all your patience.”
Flavor Boosts and Customization Tips
Your morning cup shouldn’t taste like everyone else’s. That’s the beauty of DIY brewing—you control the dials. Whether you crave bold intensity or mellow sips, a few tweaks transform your base into something uniquely yours.

Adjusting Coffee Strength and Concentration
Too weak? Add 25% more grounds next time. Too intense? Dilute with cold water or milk until it sings. I keep two jars: one full-strength for iced versions, another pre-diluted for grab-and-go mornings. Pro tip: Freeze leftover concentrate into ice cubes—they won’t water down your drink.
Tips for Serving Iced or Warming for Hot Coffee
Pour over ice for instant refreshment. Prefer warmth? Heat diluted concentrate gently—never boil it. My favorite ratio: 1:1 with hot water, plus a cinnamon stick. Add oat milk or honey for cozy vibes.
Play with mix-ins:
- Vanilla extract + almond milk
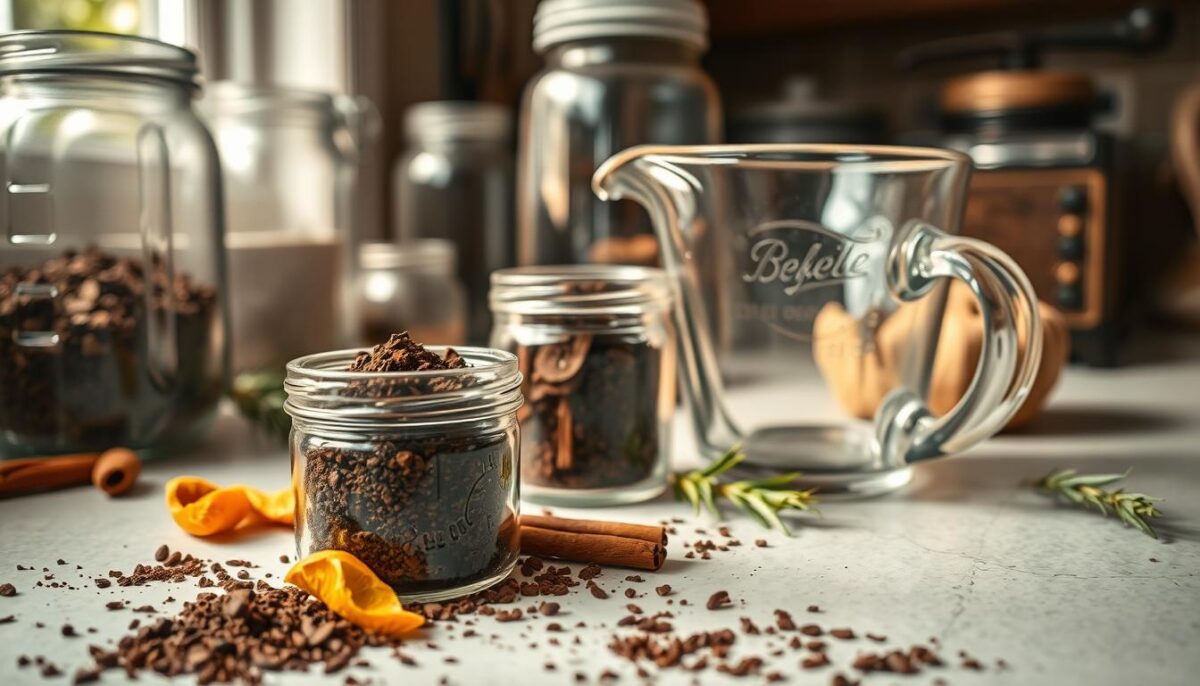
- Cardamom pods + orange zest
- Cocoa powder + maple syrup
Remember: Start subtle. You can always add more, but you can’t undo a flavor avalanche. Your perfect cup is waiting—what’ll you try first?
Creative Uses and Leftover Ideas
Your morning ritual doesn’t have to end with the last sip. Those spent grounds and leftover liquid hold hidden potential—if you know how to unlock it. Let’s turn your kitchen scraps into garden gold and spa-worthy treatments.

Repurposing Coffee Grounds in the Garden
Don’t toss those used grounds! They’re packed with nitrogen and acidity that plants adore. Mix them into compost piles to accelerate decomposition, or sprinkle around acid-loving tomatoes and hydrangeas. Snails hate the gritty texture—it’s nature’s pest barrier.
Dilute leftover coffee water (1:4 ratio with plain H2O) for a gentle fertilizer. My roses thrive on this weekly treat. Bonus: grounds aerate heavy clay soil better than store-bought amendments.
DIY Coffee-Based Skincare and Body Scrubs
That concentrate isn’t just for drinking. Combine 50 grams of used grounds with 30 grams coconut oil and 20 grams brown sugar for a cellulite-busting scrub. The caffeine tightens skin, while granules exfoliate gently.
- Mix grounds with honey for a brightening face mask
- Blend concentrate into hair rinses to boost shine
- Freeze diluted coffee water into de-puffing eye treatments
Pro tip: Always patch-test first. These things work wonders, but skin sensitivities vary. Whether you’re feeding ferns or polishing skin, remember—the right ratio makes all the difference. What will you create first?
Conclusion
Let’s be real—complicated routines don’t survive busy mornings. This lazy genius way to make your favorite drink proves great flavor needs simplicity, not gadgets. Grab those jars, toss in grounds, and let time work its magic while you sleep.
Remember: coarse grinds + filtered water + 12 hours = liquid gold. Strain through cheesecloth, store in the fridge, and tweak strength to your taste. That’s it—no paper filters or fancy gear required. The low acidity and smooth finish? They’re just bonuses.
What I love most? Every step sparks creativity. Dilute it for iced sips, heat it gently, or mix in spices. Even leftovers get second lives—fertilize plants or craft scrubs. Your cup becomes a blank canvas.
So go ahead—mess with ratios, try new beans, or repurpose grounds. Perfection’s overrated. As long as it wakes you up smiling, you’re doing it right. Now pour yourself a victory cup and savor the genius of keeping it simple.
FAQ
What’s the ideal grind size for this method?
I always aim for a coarse texture—like sea salt. Too fine can make straining messy and leave bitter notes. A burr grinder gives the most consistent results, but pre-ground labeled “for cold brew” works in a pinch.
Can I skip the French press or special equipment?
Absolutely! My go-to is a Mason jar and cheesecloth. Combine grounds and water, steep, then strain through the cloth. It’s budget-friendly and just as effective for that silky-smooth finish.
How long should I let it steep?
I stick to 12–24 hours at room temp. Less time = lighter flavor; more time = bolder richness. Experiment to find your sweet spot—I start with 16 hours for a balanced profile that’s not too acidic.
What’s your favorite water-to-grounds ratio?
My lazy genius hack? A 4:1 ratio (water to grounds). For example, 4 cups of water to 1 cup of beans. Dilute later with milk or ice if you prefer a milder sip. Adjust based on how strong you like it!
How do I store leftovers?
Keep it fresh in an airtight container in the fridge for up to two weeks. I reuse glass bottles or kombucha jars—eco-friendly and ready to grab for iced lattes or morning pour-overs.
Can I reuse the spent grounds?
Yes! Toss them in compost, mix into soil for plants, or make a DIY body scrub. Mix with coconut oil and sugar for an exfoliator that smells like your favorite café.
Why does mine taste weak or watery?
Two fixes: Check your ratio (more grounds next time) or steep longer. If it’s still not hitting right, reduce the water slightly. My backup? Brew a concentrate and dilute to taste—control is key!


