The Flavors of Ethiopia: How to Make Injera and Spicy Wot Stew
April 30, 2025
How to Host a Traditional British Roast Dinner
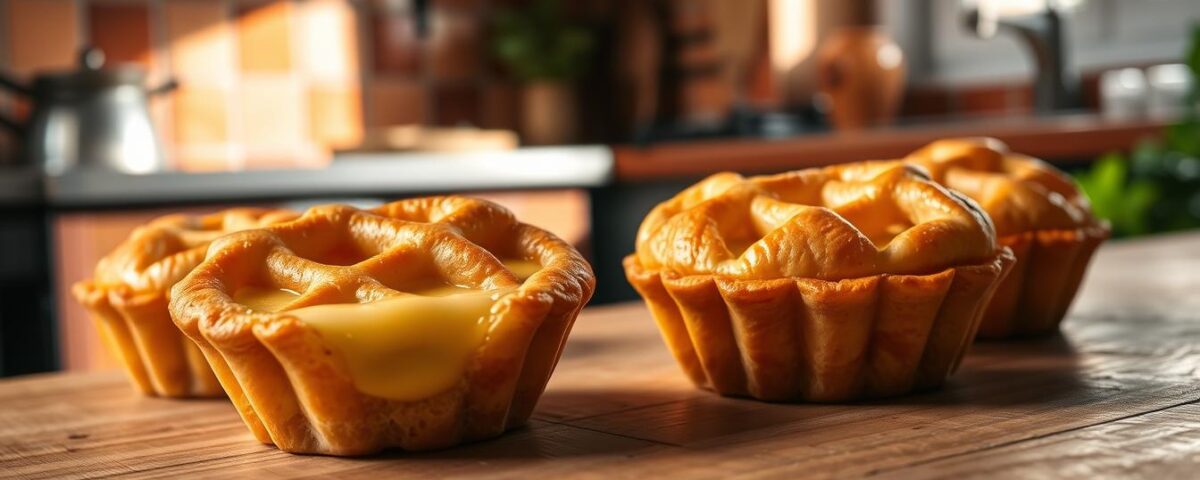
April 30, 2025I still remember the first time I bit into a warm, golden-brown treat at a tiny Lisbon bakery. The crisp, buttery layers shattered delicately, giving way to a silky-smooth center that tasted like sunshine and history. That moment sparked a year-long obsession to recreate that magic in my own kitchen—a journey filled with burnt pans, sticky countertops, and the kind of joy that only comes from mastering something truly special.
Early on, I learned these treats aren’t just desserts—they’re edible stories. Centuries ago, monks perfected the art of using leftover egg yolks (a byproduct of starch-stiffened vestments!) to create something extraordinary. Today, balancing that heritage with modern techniques became my mission. My first attempt? Let’s just say using a whole stick of butter left my dough swimming in grease. But through trial, error, and midnight dough folds, I discovered the secret: patience.
This article is my love letter to that process. We’ll explore how to achieve that iconic flaky crunch without professional equipment, why resting the dough overnight makes all the difference, and how to plate these gems like you’re serving royalty. Whether you’re a baking newbie or a pastry pro, I promise—this adventure is sweeter than the caramelized tops we’re aiming for.
Key Takeaways
- Uncover the fascinating history behind these iconic sweets
- Learn why quality egg yolks make or break the filling
- Discover the perfect balance between traditional methods and modern shortcuts
- Master techniques for handling delicate dough and creamy centers
- Get pro tips for presentation that impresses guests
A Taste of Portugal: Exploring Portuguese Cuisine
There’s something magical about how a simple combination of eggs and sugar can transport you across continents and centuries. My obsession began when I stumbled upon a faded recipe card labeled “Convent Sweets” at an antique market—its edges curled like pastry layers waiting to unfold.
The Origins and Evolution of Pastéis de Nata
Centuries ago, resourceful monks transformed surplus egg yolks into golden treasures. By the 1830s, Lisbon’s iconic Fábrica de Pastéis de Belém perfected their version, guarding the formula tighter than a vault. What started as frugal ingenuity became a national symbol—crunchy shells cradling velvety centers kissed by fire.
I learned the hard way that timing is everything. My first batch? Burnt tops hiding undercooked filling. Turns out, those monks knew their ovens better than I knew my modern appliance.
My Personal Journey with Portuguese Desserts
Memories of my grandmother’s kitchen taught me to respect the alchemy of heat and patience. She’d whisper, “Sugar caramelizes, eggs thicken—but only if you listen.” Now I balance her wisdom with shortcuts: preheated baking stones for that signature blister, or chilling the dough just long enough to cheat time.
Today’s bakers riff on tradition—adding citrus zest to the creamy mixture or swapping white sugar for honey. But the soul remains: cracked pepper on caramelized tops, that first bite where history meets hunger.
Essential Ingredients and Tools for a Flawless Recipe
My kitchen counter looked like a battlefield after my first attempt—scattered bowls and sticky spoons everywhere. Through trial and error, I discovered that success starts with three non-negotiables: precise tools, fresh ingredients, and a timer you trust.

Grab two heavy mixing bowls—one for the dough, another for the filling. Thin metal ones conduct cold better, keeping your puff pastry firm. For yolks, I learned the hard way: pale supermarket eggs create dull centers. Farm-fresh ones with deep orange hues? They make the filling glow like liquid amber.
Milk matters more than you’d think. Whole milk creates silkiness, while skim leaves gaps in texture. Heat it slowly in a small saucepan—burnt bottoms ruin batches. And those “just 5 more minutes” tweaks? They’re why my early versions wept or cracked. Set multiple timers.
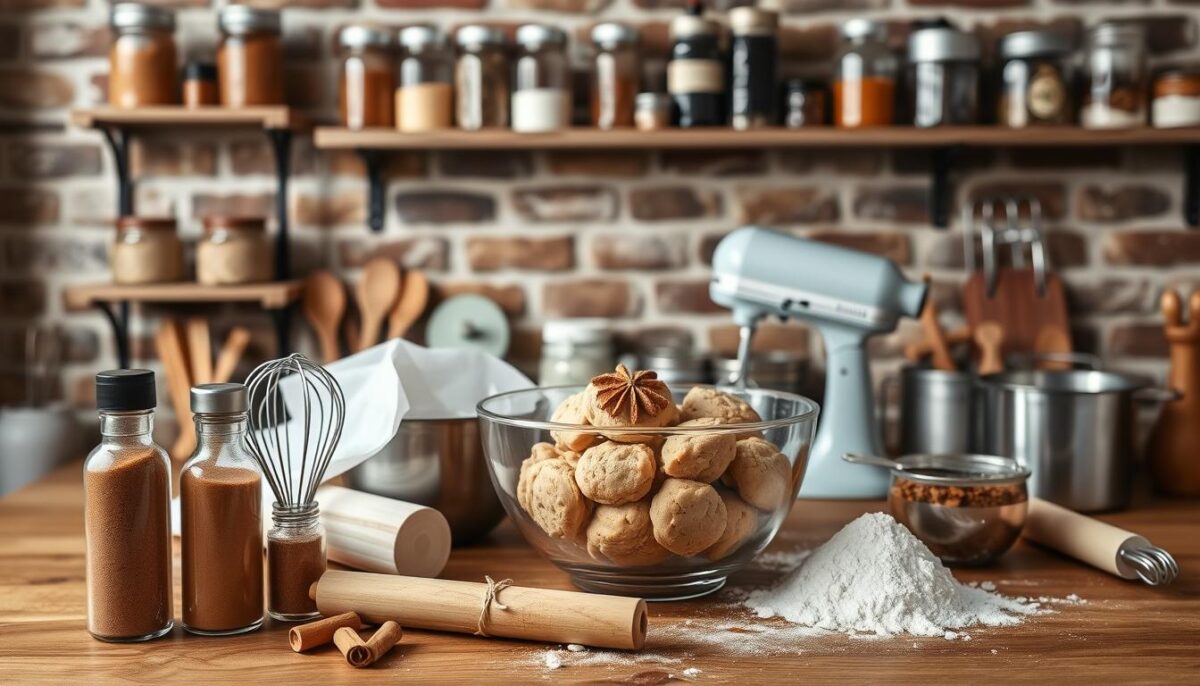
Here’s what your toolkit needs:
- Muffin tins with sharp edges (for clean pastry folds)
- A whisk that fits snugly in your bowl (better emulsion)
- Digital scale (grams beat cup measurements)
Cheap puff pastry? It shatters like glass. Splurge on butter-based versions—they crisp while staying tender. And when mixing, let the yolks meet warm milk gradually. Rush this step, and you’ll scramble eggs instead of crafting velvet.
Portuguese custard tart recipe: A Step-by-Step Guide
Creating these golden delights feels like conducting a pastry orchestra—every movement matters. Let’s break down the process into three acts, where timing and touch transform simple ingredients into layered magic.
Preparing the Custard Filling
Start with 6 fresh egg yolks in a heavy bowl. Whisk vigorously with 1/4 cup sugar until pale ribbons form. Add 2 tsp cornflour and 1 tsp vanilla—this combo prevents weepy centers. Heat 1 cup whole milk until steaming, then pour it slowly into the yolk mixture while whisking. Return everything to the saucepan and cook on medium for 4 mins, stirring like you’re polishing silver. The filling should coat the spoon thickly.
Assembling the Puff Pastry
Unroll chilled puff pastry on a floured surface. Cut 12 circles using a 3-inch cutter—press firmly for clean edges. Gently press each round into muffin tin crevices, letting the edges ruffle slightly. Let them rest at room temperature for 15 mins while preheating the oven to 475°F. This pause prevents shrinking during baking.
Baking to Perfection
Fill each pastry shell 3/4 full—overpouring leads to spills. Bake on the middle rack for 16-18 mins until the puff layers tower and the tops blister like miniature crème brûlées. Rotate the tin halfway for even color. Let cool 10 mins before removing—the filling sets as it rests. That first crackle of fork meeting crust? Pure poetry.
Creative Twists and Expert Tips
Transforming a classic dessert into a personal masterpiece requires both respect for the original and a dash of creativity. Through countless batches, I’ve discovered smart adjustments that honor tradition while saving time—without sacrificing that iconic crackle.
Homemade versus Store-Bought Puff Pastry
My first attempt at hand-layered dough ended in a butter tsunami. Here’s what I learned:
| Factor | Homemade | Store-Bought |
|---|---|---|
| Time | 2+ hours | 5 minutes |
| Texture | Flakier layers | Consistent crunch |
| Flexibility | Custom thickness | Standard sheets |
For weeknight baking, I reach for quality frozen sheets. Want extra crispness? Brush melted butter between layers before rolling.
Enhancing Flavors with Cinnamon and Vanilla
A pinch of cinnamon in the sugar mixture creates that nostalgic bakery aroma. For the filling, I use 1 large egg plus 3 yolks—the whites get saved for meringues. Combine with real vanilla bean paste instead of extract for visible speckles that whisper luxury.
When adjusting dough consistency, mix flour and water gradually. The ideal texture? Like cold playdough that holds shape without cracking. And always preheat your oven 25°F hotter than the recipe suggests—those initial high temps create the signature blistered tops.
Experiment with muffin tin sizes too: mini tins make bite-sized gems, while jumbo versions need 3 extra baking minutes. The magic happens when you make it yours.
Historical and Cultural Significance of Custard Tarts
The journey of these golden pastries from monastery walls to modern cafes reads like a culinary thriller. What began as a practical solution for using leftover egg yolks in 18th-century convents now fuels Instagram feeds from São Paulo to Seoul. I once met a baker in Macau who whispered, “The true magic lies in the dance between fire and patience.”
![]()
From Humble Origins to Worldwide Craze
Modern kitchens achieve the iconic blistered surface through precise temperature control—a far cry from wood-fired ovens of old. My experiments proved that heating milk in a heavy saucepan at 180°F prevents curdling while enhancing vanilla notes. This balance of tradition and innovation explains why even fast-food chains now offer their spin.
| Aspect | Traditional | Modern |
|---|---|---|
| Heat Source | Wood-fired ovens | Convection baking |
| Flavor Boost | Cinnamon dusting | Vanilla bean infusion |
| Global Adaptations | None | Matcha (Japan), Durian (SE Asia) |
During a Tokyo food tour, I tasted a version with yuzu zest—proof that cultural adaptations thrive when respecting the original texture. The crackling crust remains non-negotiable, whether made in Lisbon or Los Angeles.
What makes these treats universally irresistible? Perhaps it’s how they transform simple ingredients through heat and history. Every bite carries centuries of craft—and the promise that delicious ideas know no borders.
Serving, Storing, and Enjoying Your Tarts
Presentation transformed my kitchen creations from humble to showstopping overnight. I discovered that how you serve these golden treats matters as much as how you bake them. Let me share the tricks that turned my first messy plate into something guests photograph before tasting.
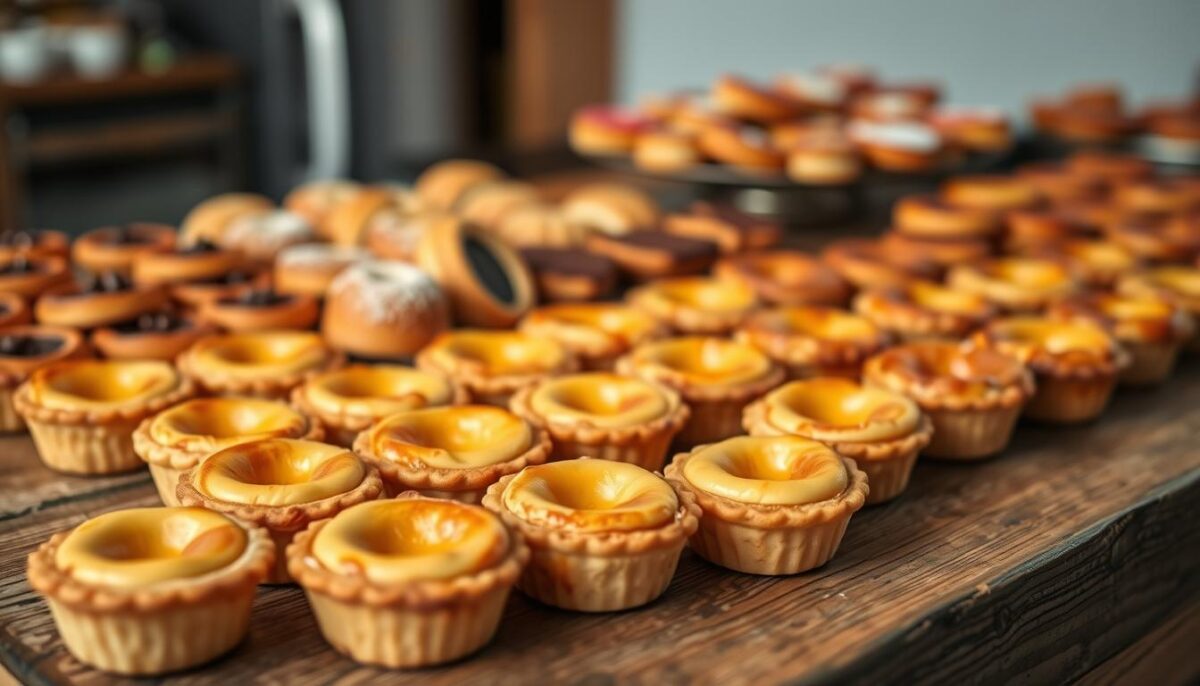
Presentation Ideas for a Stunning Display
Stack mini versions in clear cups for a vertical dessert tower. Add lemon zest curls between layers—their bright color pops against golden pastry. For rustic charm, arrange them on a weathered baking tin lined with parchment.
Three crowd-pleasing setups:
- Dust powdered sugar through a lace doily for snowflake patterns
- Drizzle vanilla sauce in swirls around the plate
- Pair with fresh berries in matching cups
Tips for Maintaining Freshness and Flavor
Store cooled pastries in an airtight container at room temperature—they’ll stay crisp for up to two days. Avoid refrigeration unless it’s sweltering; cold makes the shells soggy. To revive day-old treats: warm them briefly in a 300°F oven until the filling jiggles slightly.
My secret weapon? A spritz of lemon juice mixed with honey. Brush it lightly on reheated pastries for extra shine and zing. Serve immediately while the contrast between warm centers and cool cups delights the senses.
Conclusion
There’s nothing quite like pulling golden treasures from your oven, knowing each layer holds stories and skill. Through spilled flour and triumphant batches, I’ve learned that mastering pasteis nata means embracing both precision and play. A clean work surface becomes your canvas—where scattered ingredients transform into harmony.
Whether adjusting a cinnamon stick’s warmth or perfecting when to remove heat, these recipes thrive on personal touches. Pair your creations with fresh fruit sides or dark coffee for contrast. Remember: those caramelized tops aren’t just dessert—they’re edible victory laps.
To anyone hesitating: dive in. Let dough flakes cling to your fingers and vanilla scent your kitchen. The magic lies not in perfection, but in sharing something crafted with care. Thank you for joining me in this buttery adventure—now go make memories that crinkle as sweetly as pastry layers.
FAQ
Can I use store-bought puff pastry instead of making it from scratch?
Absolutely! I often grab a high-quality frozen version to save time. Just thaw it properly and roll it thin for that signature flaky texture.
Why do my tarts sometimes crack while baking?
Cracking usually happens if the oven’s too hot. I keep mine at 475°F and place a baking sheet on the lower rack to diffuse heat evenly. Watch them like a hawk during the last few minutes!
How do I get that classic caramelized top without burning them?
Broil for 30-60 seconds at the end, but stay close—they go from golden to charred fast. I’ve learned this trick from a Lisbon baker, and it’s a game-changer!
Can I freeze leftovers for later?
Yes! I pop cooled tarts into an airtight container and freeze for up to a month. Reheat in a 350°F oven for 5-7 minutes to revive the crispiness.
What’s the secret to the silky filling texture?
Straining the mixture through a fine sieve removes any lumps. I also whisk constantly while cooking to avoid scrambling the eggs—patience is key here.
Are these treats traditionally served warm or cold?
Both! I prefer them slightly warm with a dusting of powdered sugar and cinnamon. In Portugal, they’re often paired with a strong espresso for balance.
Why did Pastéis de Nata become so popular worldwide?
Their origin in 18th-century monasteries and Portugal’s maritime history spread the recipe globally. I’ve seen them everywhere from Macau to Brooklyn—crispy, creamy magic transcends borders!
