


Mastering Italian Pizza at Home with Authentic Neapolitan Techniques
May 3, 2025
Baking Classic French Croissants Like a Parisian Chef
May 3, 2025
I still remember the first time I tried crafting sushi at home. My hands trembled as I spread the rice, convinced I’d never get it right. But when I sliced that first roll and saw the colorful layers inside, I felt a rush of pride—like I’d unlocked a secret door to a culinary world I’d only admired from afar.
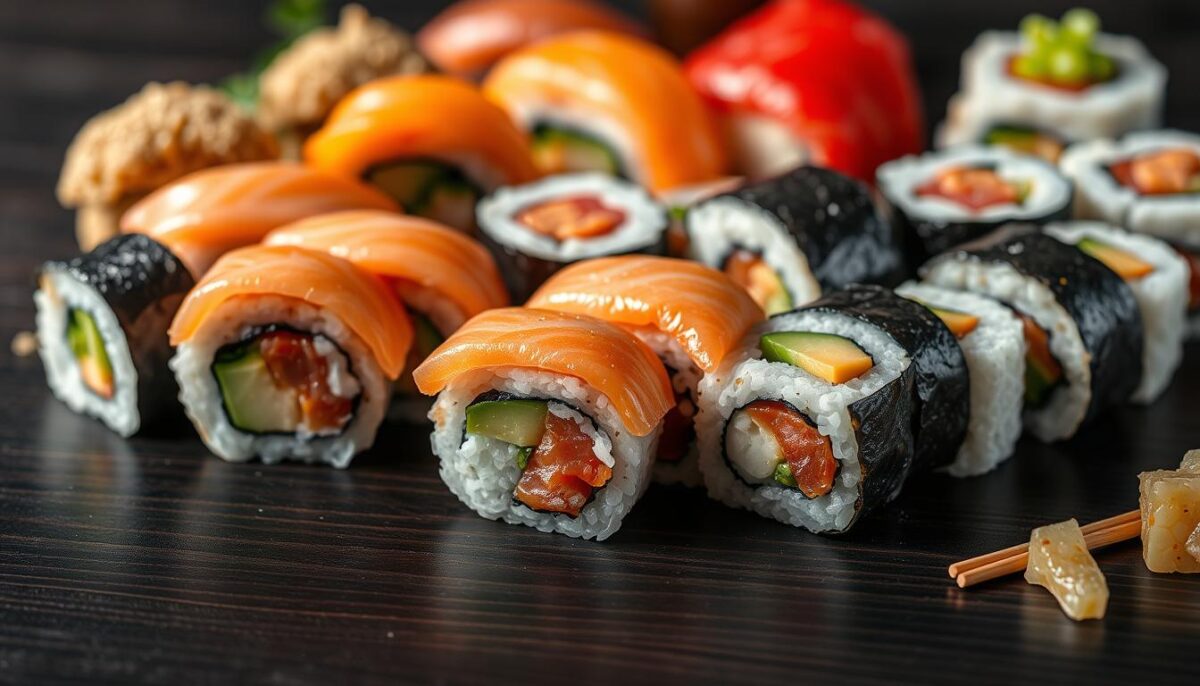
Many assume sushi is just raw fish, but that’s like saying a symphony is just violins. The heart of this dish lies in the harmony of vinegared rice, fresh ingredients, and technique. I learned early on that even the simplest fillings—crisp cucumber, creamy avocado—could shine when balanced properly.
Through trial and error (and a few rice disasters), I discovered how accessible this art could be. You don’t need years of training—just a bamboo mat, quality seaweed, and patience. Let’s debunk the myths together and explore how your kitchen can become a gateway to authentic flavors.
Key Takeaways
- Sushi centers on seasoned rice, not just raw fish
- Basic tools like bamboo mats make rolling easier
- Vegetables and cooked proteins work beautifully in homemade versions
- Proper rice preparation is crucial for texture and flavor
- Multiple rolling techniques accommodate different skill levels
Understanding the Essence of Sushi
Centuries ago, what we now recognize as sushi began as a practical way to preserve fish using fermented rice. Fishermen in Southeast Asia would pack gutted catches between salted rice layers, letting natural fermentation work its magic. This method, called narezushi, bore little resemblance to today’s delicate creations but laid the groundwork for a culinary revolution.
History and Cultural Significance
By the Edo period (1603-1868), street vendors in Tokyo started serving vinegared rice paired with fresh seafood—a game-changer. I learned that this shift transformed sushi from preservation technique to edible art. Festivals and family gatherings began featuring colorful arrangements, celebrating seasonal ingredients and craftsmanship.
Regional variations emerged over time. Coastal areas emphasized ocean catches, while inland regions used pickled vegetables. This adaptability explains why so many types exist today—from hand-pressed nigiri to tightly wrapped maki.
Sushi vs Sashimi: Key Differences
Many assume sashimi is just “sushi without rice,” but that’s like calling a sandwich “bread without fillings.” The truth? Sushi always includes seasoned rice, while sashimi focuses solely on thinly sliced raw fish or seafood. Here’s a quick comparison:
| Sushi | Sashimi | |
|---|---|---|
| Definition | Combines rice with other ingredients | Sliced protein, no rice |
| Key Component | Vinegared rice | Fresh fish/seafood |
| Serving Style | Rolled, pressed, or shaped | Arranged slices |
When I first confused the two, a chef friend chuckled and said, “Sashimi is the soloist—sushi’s the whole orchestra.” Understanding this distinction helps appreciate why rice preparation matters as much as fish quality in authentic creations.
Essential Ingredients and Equipment for Traditional japanese sushi rolls
Great meals start with quality components. When I first stocked my kitchen for this culinary adventure, I realized even modest setups can produce stunning results with the right staples. Let’s break down what truly matters.

Key Ingredients for Authentic Taste
Nori sets the stage—look for dark, crisp sheets without holes. My local Asian market stocks premium options that stay flexible when handled. For fillings, ingredients like ruby-red tuna slices or paper-thin cucumber strips add contrasting textures.
Short-grain rice binds everything together. Rinse it until the water runs clear to avoid gummy results. A seasoned rice vinegar blend (sugar + salt) gives that signature tang. Don’t forget tamago—a sweet omelet layer that balances savory elements.
Must-Have Equipment for Home Sushi Making
A bamboo mat became my best friend after three failed rolling attempts. Its flexible slats create tight spirals without crushing fillings. Pair it with a flat rice paddle to spread grains evenly across nori sheets.
Keep these tools handy:
- Sharp chef’s knife for clean cuts
- Wooden bowl to cool rice quickly
- Damp cloth to wipe sticky fingers
Pro tip: Store nori in airtight containers to prevent sogginess. And when sourcing tuna, ask fishmongers for “sashimi-grade”—it’s frozen at ultra-low temps to ensure safety without cooking.
Step-by-Step Guide to Preparing the Perfect Sushi Rice
What if I told you the secret to unforgettable sushi lies beneath the fish? After years of practice, I’ve learned that properly prepared grains make or break every bite. Let’s transform ordinary rice into the sticky, seasoned foundation your creations deserve.
Cooking and Seasoning the Rice
Start with Japanese short-grain varieties—their plump kernels cling together when cooked. Rinse until the water runs clear, then simmer with a kombu seaweed strip for subtle umami. While steaming, mix rice vinegar, sugar, and salt in precise ratios:
| Ingredient | Amount (per 2 cups rice) | Purpose |
|---|---|---|
| Vinegar | 4 tbsp | Adds tang |
| Sugar | 2 tbsp | Balances acidity |
| Salt | 1 tsp | Enhances flavor |
Fold the warm mixture into rice using a cutting motion. Overmixing turns grains mushy—I learned this the hard way during my first kitchen attempt!
Maintaining Rice Texture and Temperature
Keep prepared vinegared rice in a wooden bowl covered with damp cloth. This prevents drying without making it soggy. Never refrigerate—cold temperatures harden the starch.
If your rice feels too dry, sprinkle water while reheating. Too sticky? Add a few drops of vinegar while folding. A chef once told me, “Treat rice like a living thing—it responds to how you handle it.”
Mastering the Rolling Technique: From Nori to Sushi Roll
The bamboo mat felt foreign in my hands at first—like trying to write with my non-dominant hand. But after a dozen attempts, I discovered its rhythm. Perfecting the art of rolling transforms scattered ingredients into cohesive maki, each slice revealing a miniature masterpiece.
Using the Bamboo Sushi Mat Efficiently
Start by covering your mat with plastic wrap—this prevents sticky rice from clinging to the slats. Lay a nori sheet shiny-side down, then spread grains evenly using damp fingers. Leave a 1-inch border at the top for sealing. A chef once told me, “Rice distribution is 80% of the battle—get this right, and the rest follows.”
Rolling Techniques for Consistent Sushi Shapes
Place fillings horizontally across the center. Fold the mat’s edge over the ingredients, tucking tightly with your thumbs. Roll forward while applying gentle pressure—think “hugging” rather than squeezing. If your shape bulges, unroll slightly and redistribute filling.
Common pitfalls include overpacking ingredients or rolling too loosely. My first attempt looked more like a burrito than maki! For uniform slices, let rolls rest 2 minutes before cutting. Use a razor-sharp knife dipped in vinegar water—sawing motions crush delicate layers.
Remember: Your dominant hand guides the mat forward while the other anchors fillings. With practice, this motion becomes as natural as breathing. Every tight spiral proves that precision beats speed in crafting picture-perfect sushi rolls.
Exploring Different Types of Sushi and Roll Variations
My first encounter with a California roll changed my perspective on culinary creativity. While visiting a fusion restaurant, I marveled at how avocado and crab could redefine expectations. This modern twist made me realize how regional preferences shape types of sushi across cultures.

Traditional vs Modern Approaches
Classic styles prioritize simplicity—think delicate salmon nigiri or minimalist cucumber hosomaki. But contemporary versions play with textures and ingredients. The California roll’s inside-out design, with rice coating the exterior, became a gateway for many to explore seafood combinations without raw fish.
Regional Flavors and Innovations
Chirashi sushi offers a deconstructed experience I adore. A bowl of seasoned rice gets topped with vibrant slices of fish and vegetables—perfect for those who prefer assembly over rolling. Coastal regions often feature uni or tuna, while mountain areas showcase pickled radish.
One chef shared, “Modern rolls aren’t replacements—they’re conversations between tradition and local tastes.” From spicy mayo-drizzled creations to baked seafood variations, these adaptations prove sushi’s endless versatility. Whether you crave the crunch of tempura or the creaminess of avocado, there’s a type to satisfy every palate.
Tips for Customizing Your Fillings and Flavoring Your Rolls
Your kitchen becomes a flavor laboratory when you make sushi your own. I discovered this while watching a chef layer natto (fermented soybeans) beside fresh avocado—a bold pairing that made me rethink “traditional” combinations.

Selecting Fresh Seafood and Vegetables
Quality starts at the fish counter. For raw tuna, look for firm flesh with a metallic sheen. When handling vegetables like cucumber, slice them thin enough to bend without snapping. A Tokyo-based chef once told me, “Your fingers know freshness—if it feels limp in your hand, it’ll taste lifeless in the roll.”
Cooked proteins offer safety nets for beginners. Try seared shrimp or teriyaki chicken. Balance textures by mixing crunchy radish sprouts with creamy mascarpone.
Creative Ingredient Combinations
Break rules thoughtfully. This comparison shows how small swaps create big flavor shifts:
| Traditional | Modern Twist | Flavor Impact |
|---|---|---|
| Raw salmon | Smoked trout | Earthy depth |
| White rice | Quinoa blend | Nutty complexity |
| Soy sauce | Yuzu kosho | Citrus heat |
Don’t fear unexpected pairings. Mango adds sweetness to spicy crab, while pickled ginger sharpens cream cheese. The key? Cut all ingredients to pencil thickness for even distribution.
When I first added roasted beet strips to rolls, skeptics became converts. Now I keep a “test kitchen” bowl for experimental mixes. Your perfect filling might be one daring choice away.
Plating and Serving Your Homemade Sushi
Presentation transforms your creation from kitchen experiment to culinary art. The final arrangement invites eyes to feast before chopsticks move. I discovered this when a friend gasped at my first platter—“It looks too beautiful to eat!”—then immediately reached for seconds.

Garnishing for an Attractive Presentation
Slice rolls with a knife dipped in vinegar water—this prevents sticking and ensures clean edges. Aim for 6-8 uniform pieces per roll. Elevate simple arrangements with curled nori strips or microgreens. For special occasions, edible flowers add instant elegance without overpowering flavors.
Arrange rolls in staggered rows on a rectangular plate. Alternate colors: pale shrimp beside vibrant carrot matchsticks. Place wasabi mounds strategically—they become natural dividers between varieties.
Accompaniments and Dipping Sauces
Serve soy sauce in individual bowls to prevent cross-flavoring. Mix wasabi directly into it for consistent heat. Pickled ginger acts as a palate cleanser—place a small pile on the side of your main dish.
For hosting a sushi night at home, try these pairings:
| Roll Type | Recommended Sauce | Garnish |
|---|---|---|
| Vegetable | Citrus ponzu | Toasted sesame |
| Spicy tuna | Sriracha mayo | Chive blossoms |
At my last dinner party, I served rice crackers in a ceramic bowl alongside the main platter—guests loved the crunch contrast. Remember: Every element should enhance, not overwhelm, your star ingredient—the sushi itself.
Troubleshooting Common Challenges in Sushi Making
Every artist encounters that heart-sinking moment when ingredients rebel. My first roll unraveled like a scroll, revealing more rice on my hand than the nori. But with these fixes, you’ll transform kitchen frustrations into edible victories.
Managing Rice Consistency and Nori Freshness
Sticky rice clumping? Add a teaspoon of vinegar to your hand while shaping. If grains dry out, cover them with a damp towel—this buys time while prepping fillings. For nori that cracks, lightly brush sheets with water using your fingertip.
Store unused seaweed in airtight containers with silica packs. Chef Akira once told me, “Nori should snap like autumn leaves—if it bends, it’s past its prime.” Revive slightly stale sheets by quickly passing them over a gas flame.
Fixing Rolling Mistakes and Adjusting Techniques
When fillings burst through nori, unroll and redistribute ingredients. Use damp fingers to seal tears with spare rice. For uneven shapes, press the mat firmly while rotating the roll—think “hug and nudge” motions.
Try these time-tested solutions today:
- Cut rolls seam-side down for cleaner edges
- Chill fillings 10 minutes if they’re too slippery
- Dip knives in rice vinegar between slices
Remember: Imperfections add character. My lopsided rolls still disappear faster than perfect ones at dinner parties. With practice, your hands will develop muscle memory for flawless spirals.
Conclusion
Creating restaurant-quality sushi rice in your kitchen isn’t magic—it’s mastery of fundamentals. Through this guide, we’ve explored how precise seasoning with vinegar, sugar, and salt transforms ordinary grains into the sticky foundation of every great dish. Remember: your nori sheets stay crisp when stored properly, and fresh fish or vegetables elevate even simple rolls.
Whether crafting tight maki or experimenting with types like inside-out creations, success lies in patience. That slightly uneven shape from your first attempt? It’s proof you’re learning—my early tuna and cucumber rolls looked more like abstract art than cylinders!
Now’s the time to play. Swap proteins, mix textures, or try vibrant garnishes. Every ingredient choice tells your culinary story. Keep this guide bookmarked for quick reminders on seaweed handling or rice ratios.
Thank you for letting me share this journey. Your home kitchen just became the most exciting sushi bar in town—what type will you create today?
FAQ
Can I use regular rice instead of short-grain varieties?
I don’t recommend it. Short-grain rice has the sticky texture needed to hold rolls together. Brands like Koshihikari or Calrose work best for that authentic, slightly sweet base.
How do I prevent the nori from getting soggy?
Spread the vinegared rice thinly and work quickly. Keep unused seaweed sheets in an airtight container with a silica packet to maintain crispness.
What’s a simple substitute for raw fish in homemade rolls?
Try cooked shrimp, smoked salmon, or even marinated tofu. For a veggie twist, avocado, cucumber, or pickled radish add freshness without seafood.
Why does my rice turn mushy when seasoning?
Overmixing is usually the culprit. Gently fold the vinegar-sugar-salt blend into cooled rice using a wooden spatula. A fan helps cool it faster without crushing the grains.
Can I make rolls ahead of time for a party?
Prep ingredients separately, but assemble within 2–3 hours of serving. Wrap rolls tightly in plastic wrap and refrigerate—just avoid freezing, as textures will suffer.
Do I need a bamboo mat to shape maki?
While it helps create tight rolls, you can use parchment paper or a clean kitchen towel in a pinch. Apply even pressure to keep the fillings centered.
How do I balance flavors without overpowering the fish?
Less is more! A dab of wasabi, a swipe of Kewpie mayo, or a sprinkle of toasted sesame seeds adds depth without masking the star ingredients.
What’s the best way to slice rolls cleanly?
Use a sharp, wet knife and wipe it between cuts. For cleaner edges, chill the roll for 10 minutes before slicing—this firms up the rice and nori.


