Why Your Homemade Coffee Tastes Bad—And How to Fix It
April 16, 2025
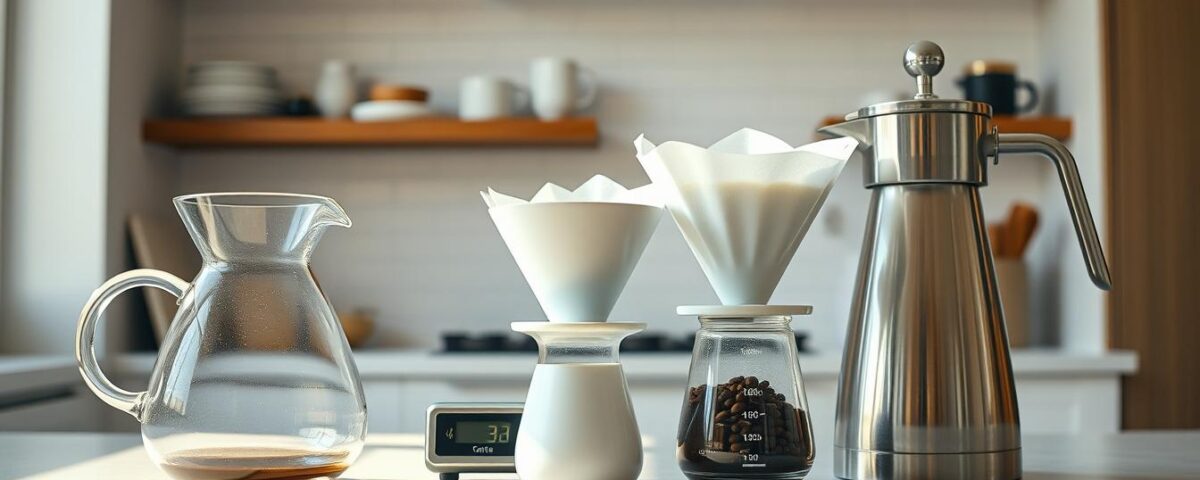
Top 7 Tools Every Home Barista Needs in 2025
April 16, 2025I still remember my first attempt at making coffee at home. The bitter, watery mess I created made me wonder: “Why does this taste so different from my favorite café?” That moment sparked my obsession with unlocking the secrets of a perfect cup. It wasn’t until I discovered the pour-over method that everything changed—suddenly, I could taste the blueberry notes in Ethiopian beans and the caramel undertones of Colombian roast.
What makes this approach special? It’s like conducting an orchestra. Every element—the coffee grounds, water temperature, and even your pouring rhythm—plays a role in the final flavor. I’ll never forget the morning I finally nailed the bloom phase, watching the grounds puff up like a chocolate soufflé. That’s when I realized: precision meets artistry here.
Through trial and error (and a few over-extracted disasters), I developed a flexible framework. Let’s start with the basics: 20 grams of freshly ground beans paired with 320 grams of water heated to 205°F creates magic. This 1:16 ratio works whether you’re brewing a single cup or sharing with friends. The key? Adapting variables like grind size and pour timing to highlight each coffee’s unique personality.
Key Takeaways
- Flexible recipes adapt to different beans and preferences
- Start with a 1:16 coffee-to-water ratio for balanced flavor
- Water temperature between 205-210°F optimizes extraction
- Bloom time (30-45 seconds) releases trapped gases for richer taste
- Consistent pouring patterns prevent uneven saturation
- Quality filters and a gooseneck kettle enhance control
In the next sections, we’ll break down each piece of equipment and technique. You’ll learn how to turn morning coffee into a ritual that’s equal parts science and soul.
Introduction to My Pour-Over Experience
My coffee journey began with a series of bitter missteps. Early mornings once meant murky cups that tasted like burnt cardboard. “Why does this cost $5 at cafés?” I muttered, staring at my soupy creation. That frustration sparked months of tinkering—measuring, timing, and tasting until my kitchen counter looked like a lab bench.
The breakthrough came when I learned to treat each variable like a dial. Too acidic? Adjust the grind size. Flat flavor? Heat the water hotter. I’ll never forget the first time I nailed the bloom phase—waiting 40 seconds as the grounds bubbled like champagne. Suddenly, fruity notes emerged where before I’d only tasted bitterness.
Three lessons transformed my approach:
- Precision matters: A kitchen scale for coffee weight and thermometer for water temperature became non-negotiables
- Patience pays: Rushing the process guarantees disappointment
- Flexibility is key: What works for Colombian beans fails with Ethiopian varieties
This method became my morning meditation. Unlike automatic machines, hand-poured coffee demands presence. You control every element—from how the filter sits in the brewer to the spiral motion of your pour. Yes, it takes practice. But that first transcendent sip where caramel and citrus dance together? Worth every trial.
Now, let’s explore the tools that turned my kitchen disasters into café-quality results.
Essential Equipment and Setup
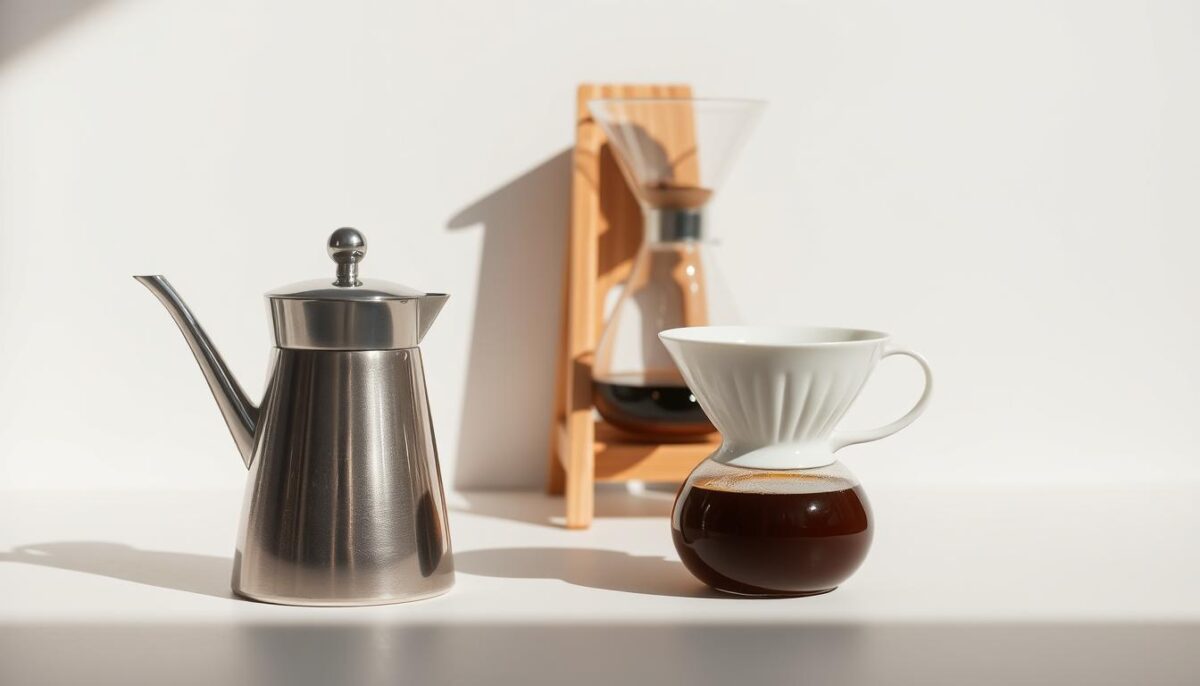
The right tools transform coffee preparation from guesswork to precision. When I first started, my mismatched gear led to inconsistent results—sometimes bitter, sometimes weak. Investing in core equipment made all the difference.
Must-Have Tools and Gear
Three items became my non-negotiables after countless trials:
| Tool | Purpose | My Top Picks |
|---|---|---|
| Digital Scale | Measures coffee and water ratios | Hario V60 Drip Scale |
| Burr Grinder | Controls grind size for even extraction | Baratza Encore |
| Gooseneck Kettle | Precise water flow control | Fellow Stagg EKG |
Prepping Your Brewer and Filter
Always rinse paper filters with hot water first. This removes the papery taste and warms your brewer. I learned this the hard way after a batch tasted like cardboard.
Place the damp filter snugly in your device. For cone-shaped brewers like Kalita Wave, center it perfectly. Uneven placement causes grounds to stick to one side during the brew.
Pro tip: Use your scale to measure everything. Start with 20g beans and 320g water—the golden ratio for most methods. Consistency begins here.
The Science Behind Coffee Extraction
Early in my experiments, I noticed something fascinating: fresh beans fizz like soda when hot water hits them. This wasn’t just a quirky detail—it held the key to unlocking richer flavors. Coffee extraction operates on principles borrowed from chemistry labs, where timing and temperature dictate outcomes.
Understanding Bloom and Degassing
Roasted beans release carbon dioxide for weeks after roasting. When you first add water, those trapped gases escape in a bubbly bloom phase. I learned that skipping this 30-45 second pause leads to uneven saturation. “You’re basically brewing with fizzy bean pockets,” a barista once told me.
Proper degassing allows liquid to penetrate the grounds evenly. Too short? Underdeveloped flavors. Too long? Stalled extraction. My sweet spot: watching the foam subside halfway before continuing.
The Role of Extraction Phases
Three stages shape your cup:
- Wetting (0-30 seconds): Water activates compounds
- Dissolution (30 seconds-2 minutes): Sugars and acids dissolve
- Diffusion (2+ minutes): Bitter elements emerge
I adjust my method based on these phases. Light roasts need hotter water (205°F) to extract fruity notes. Dark roasts thrive at 195°F to avoid bitterness. Uneven pouring creates “channels” where water bypasses clumps—a mistake that once left my brew tasting both sour and harsh.
Mastering this science transformed my mornings. Now, I tweak variables like a mad scientist—and my taste buds reap the rewards.
Essential Pour over brewing steps for a Consistent Cup
Perfecting your morning cup requires two critical phases: activation and flow control. Through countless tests, I discovered that precision during these stages separates murky results from liquid gold.
Activating the Coffee’s Potential
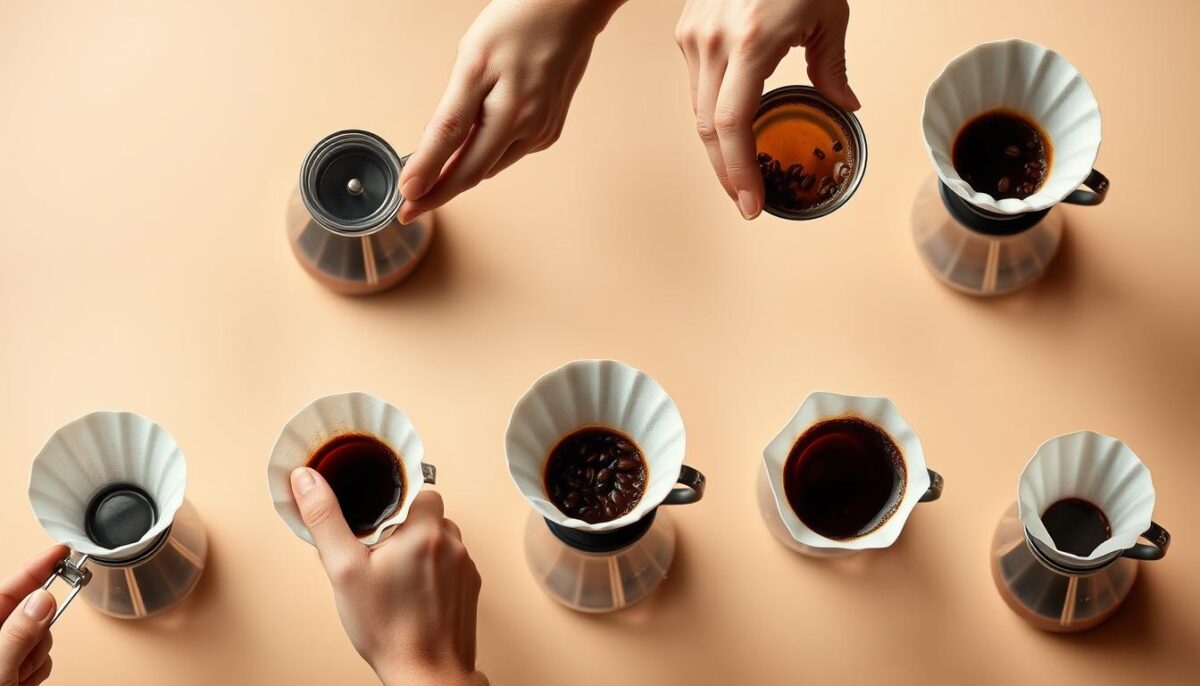
Start with 20g of coffee in your rinsed filter. Pour 60g of water heated to 205°F in slow spirals. Watch the grounds swell like a rising cake—this 30-45 second bloom releases trapped gases. “Let it breathe,” I whisper every time, resisting the urge to rush.
Mastering Flow and Rhythm
After the bloom, add water in three stages:
| Stage | Water Amount | Timing |
|---|---|---|
| First Pour | 130g | 0:45-1:15 |
| Second Pour | 80g | 1:30-2:00 |
| Final Pour | 50g | 2:15-2:45 |
Keep your kettle’s spout 2 inches above the coffee. Move in tight circles, avoiding the filter edges. Total brew time should land between 2:45-3:30 minutes. Too fast? Grind finer. Too slow? Use coarser particles.
My go-to tools—a digital timer and gooseneck kettle—eliminate guesswork. This structured approach transformed my mornings from chaotic to contemplative, one perfectly balanced cup at a time.
Customizing Your Brew for Personal Taste
Your ideal cup isn’t found in a recipe—it’s crafted through experimentation. I discovered this after making three nearly identical batches that tasted wildly different. That’s when I realized: “Variables are your paintbrushes, not your enemies.”

Tweaking Grind Size and Coffee Dose
Light-roasted Ethiopian beans transformed my approach. When I ground them finer than usual, floral notes popped like citrus zest. For dense, dark roasts? Coarser particles prevented bitter undertones. My rule: match particle size to bean density.
Adjusting Water Temperature and Ratio
Here’s where water becomes a flavor conductor. I use 208°F for bright African coffees to extract juicy acidity. For chocolatey blends, 198°F smooths the edges. The ratio dances too—1:15 intensifies body, while 1:17 highlights delicate aromas.
Experimenting with Pour Patterns and Agitation
I once circled my kettle like a hawk for two minutes straight. Result? Over-agitated coffee that tasted metallic. Now I alternate between slow spirals and brief pauses. This method lets layers develop without force.
My notebook holds pages of failed attempts—each one taught me more than success. Start with single-variable changes: adjust grind size first, then temperature. Date each entry. Your perfect cup might be three scribbles away.
Troubleshooting Common Challenges
We’ve all been there—that first sip that puckers your lips or leaves a bitter aftertaste. Dialing in your coffee is like solving a delicious puzzle. Let’s crack the code on two frequent issues I’ve wrestled with.
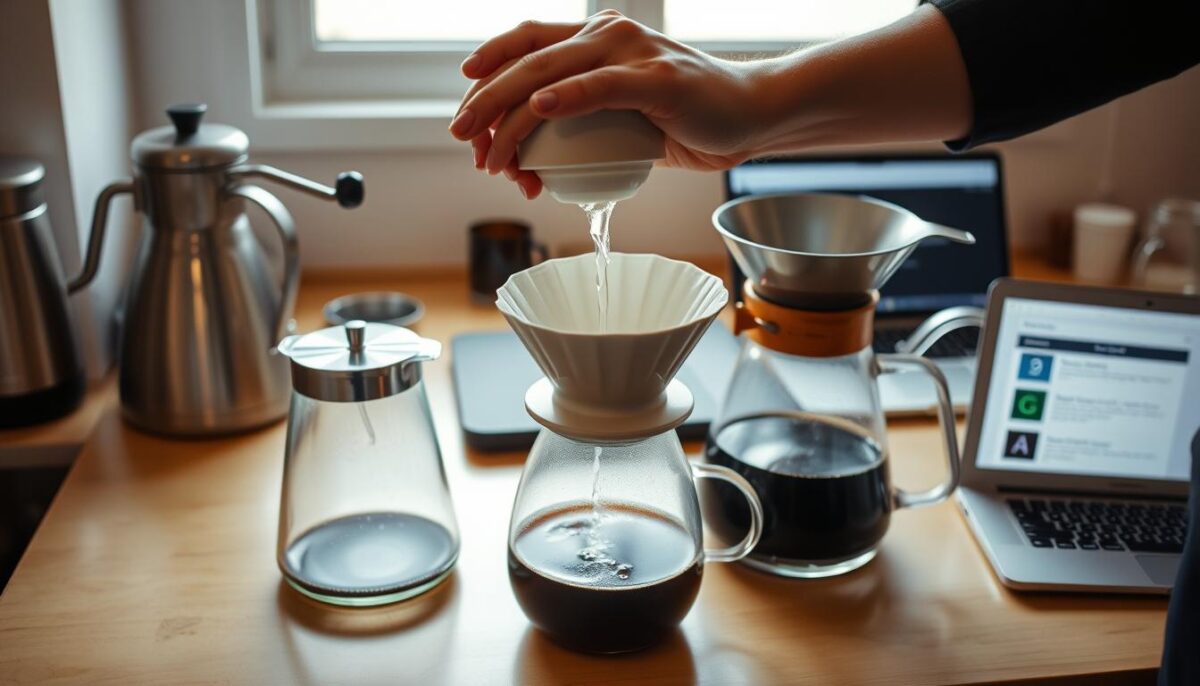
Diagnosing Your Brew’s Personality
A sour, thin cup often means under-extraction. I fixed this by grinding finer—like shifting from sand to table salt. If your coffee tastes harsh or dry, you’ve likely over-extracted. My Guatemalan beans once turned ashy until I coarsened the grind and reduced water contact by 15 seconds.
| Symptom | Quick Fix | Prevention Tip |
|---|---|---|
| Weak & Sour | +10 seconds brew time | Check water temperature (205°F ideal) |
| Bitter & Dry | Coarser grind | Use circular pours for even saturation |
Uneven extraction haunted me for weeks. The culprit? Pouring too fast on one side. Now I spiral steadily from the coffee bed’s center outward, like drawing a cinnamon roll in the brewing vessel.
Here’s my golden rule: Change one variable per batch. Last month, adjusting only water temperature (from 195°F to 202°F) transformed a bland Ethiopian blend into a blueberry explosion. Keep notes—your taste buds will thank you.
Conclusion
The magic of a great cup lies in balancing science with creativity. Through years of trial and error, I’ve learned that precision in measurements and consistency in routine form the backbone of exceptional results. Yet it’s the willingness to experiment—to nudge variables like water temperature or bean origin—that transforms routine into revelation.
Your journey will mirror mine in one way: every adjustment teaches something new. Maybe you’ll discover that Kenyan beans sing at 208°F, or that a slightly coarser grind softens darker roasts. Document these moments. Share them with fellow enthusiasts. The coffee community thrives on exchanged insights.
Remember: the best brew reflects both method and personality. Stick to the 1:16 ratio as your foundation, but let curiosity guide your tweaks. That first sip where citrus tang meets caramel warmth? That’s your signal—you’ve harmonized technique with taste.
Now it’s your turn. Heat your kettle, weigh those beans, and make each morning a fresh canvas. When you nail that perfect balance, tell me about it. After all, great coffee tastes even better when shared.
FAQ
What tools do I need to start making pour-over coffee?
I recommend a gooseneck kettle for precise control, a digital scale, fresh beans, a burr grinder, and a cone brewer like Hario V60 or Chemex. Don’t forget paper filters and a timer!
Why is the bloom phase crucial?
The bloom releases trapped CO2 from freshly ground beans. Skipping this step can lead to uneven extraction, making your brew taste sour or bitter. I always give it 30–45 seconds!
How do I adjust grind size for better flavor?
If your coffee tastes weak, try a finer grind. For bitterness, go coarser. My sweet spot is medium-fine—like sea salt—for most beans. Experiment with small changes to dial it in.
What’s the ideal water temperature?
I stick to 195–205°F (90–96°C). Too hot risks burning grounds; too cool under-extracts. Use a thermometer or let boiled water sit 30 seconds before pouring.
How do I fix under-extracted or over-extracted coffee?
For under-extraction (sour), extend brew time or use hotter water. For over-extraction (bitter), shorten time, coarsen the grind, or lower the temperature slightly.
Do pour patterns really matter?
Absolutely! Circular pours ensure even saturation, while aggressive agitation can over-extract. I start at the center and spiral outward, keeping the stream steady and controlled.
What’s the best coffee-to-water ratio?
My default is 1:16 (e.g., 25g coffee to 400g water). For stronger cups, try 1:15. Use a scale—eyeballing leads to inconsistent results!
Can I reuse paper filters?
I don’t recommend it—they trap oils and fines, which can muddy flavors if reused. Opt for reusable metal filters like Fellow’s if sustainability is a priority.
