The Ultimate Guide to Plating and Styling Dishes for Photos
May 30, 2025
5 Common Food Photography Mistakes and How to Avoid Them
June 1, 2025Did you know 69% of social media users stop scrolling for visually striking food images? Yet most creators never realize their gear’s full potential. I learned this the hard way after a disastrous shoot where my “perfectly plated” pasta looked like mush. That’s when I discovered there’s no single formula—it’s about harmony, not presets.
Think of exposure as your flavor balance. Too much light? Your dish loses texture. Too little? It feels flat. The secret lies in adjusting three elements: aperture (depth), shutter speed (motion), and ISO (brightness). Like seasoning a recipe, each tweak changes the final result.
During a shoot in Tuscany, golden hour light demanded constant adjustments. Lowering ISO preserved rich shadows, while a wide aperture made herbs pop against rustic bread. This dance between tools and environment creates magic—not rigid rules.
Key Takeaways
- No universal setup exists—adapt to your scene’s unique story
- Balance aperture, shutter speed, and ISO like ingredients
- Natural light often beats artificial for organic textures
- Small ISO changes prevent grainy or washed-out shots
- Experimentation builds intuition faster than presets
I’ll guide you through each setting’s role, using real kitchen experiments. By the end, you’ll craft images that make viewers taste the screen—no professional studio required.
Getting Started with Exposure and the Yummy Trinity
Imagine your camera as a chef’s knife—each setting slices light differently to reveal your dish’s personality. My early attempts looked like overcooked risotto: muddy shadows or harsh highlights. Then I realized exposure isn’t a dial to crank—it’s a conversation between three friends.
Understanding Aperture, Shutter Speed, and ISO
Aperture works like your eyes adjusting to darkness. A wide opening (f/2.8) isolates a drizzle on cheesecake, while f/8 keeps an entire charcuterie board crisp. During a brunch shoot, I used f/4 to blur distracting kitchen clutter behind pancakes.
Shutter speed freezes or smears movement. 1/125sec captures steam rising from coffee, but 1/30sec? That’s how I once turned a lemon drizzle into a ghostly blur. Pro tip: Use a tripod below 1/60sec.
ISO amplifies light like turning up a dimmer switch. Bumping from 200 to 400 saved my dimly lit chocolate shoot, but higher numbers add grain—like oversalting a sauce.
How Exposure Affects Your Food Photography
Start with a baseline: f/4, 1/60sec, ISO 200. Now tweak one element:
- Open aperture to f/2.8? You’ll need faster shutter speed or lower ISO
- Slow shutter to 1/30sec? Tighten aperture or risk overexposure
- Boost ISO to 800? Watch for noise in shadowy areas
I learned this balancing act shooting soup in a candlelit bistro. Lowering ISO preserved rich broth textures, while a slightly wider aperture kept steam trails sharp. Treat each adjustment like salt—small pinches, constant tasting.
Master this trio, and you’ll control light like a conductor. Tomorrow’s creative techniques? They’ll click into place faster than a shutter release.
Camera settings food photos: Adjusting for the Perfect Shot
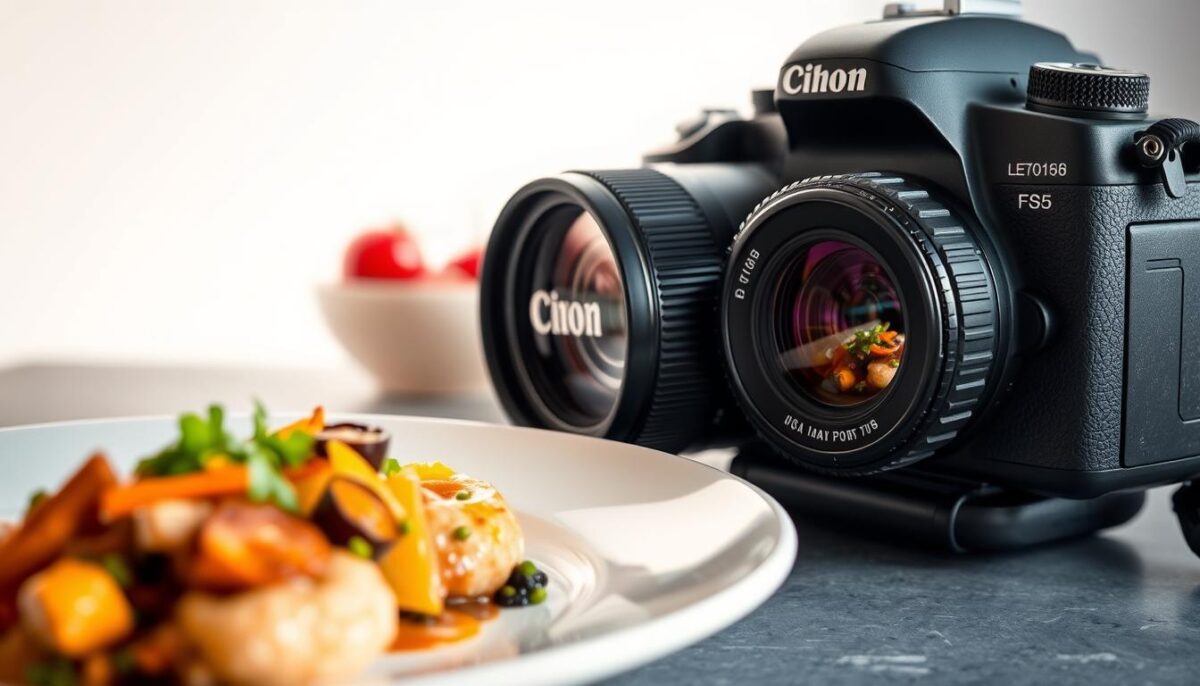
The moment I embraced manual mode, my images gained a professional edge. Unlike automatic presets, it lets you craft light like a sculptor—shaping shadows and highlights to match your vision. Think of it as learning to ride a bike: awkward at first, but liberating once mastered.
Choosing the Right Camera Mode and Manual Settings
I always start with a baseline: f/4, 1/60sec, ISO 200. Why? It’s the culinary equivalent of tasting as you cook. Adjust one element at a time:
- Too dark? Bump ISO to 400 before touching aperture
- Motion blur? Try 1/125sec with a tripod
- Distracting background? Open to f/2.8 for creamy bokeh
During a latte art shoot, raising ISO from 200 to 640 preserved steam details without washing out foam textures. The secret? Small changes create big impacts.
Using ISO to Balance Light in Different Conditions
ISO isn’t your enemy—it’s a lifeline in tricky lighting. At a dimly lit bakery, I kept shutter speed at 1/60sec (to avoid handshake blur) and nudged ISO from 400 to 800. The result? Crisp croissants with golden crusts, not noise.
Remember:
- Sunny days? Stick to ISO 100-200
- Indoor shoots? 400-800 often works
- Candlelit scenes? 1600+ if you embrace moody grain
Trust your eyes more than numbers. Last week, I shot dripping honey at ISO 500—breaking “rules” but capturing liquid gold perfectly.
Creative Techniques for Lighting, Depth of Field, and Composition
What if your next shot could make viewers feel the crunch of crust or the silkiness of sauce? It’s all about painting with light and space. I discovered this during a shoot where adjusting my lens transformed bland oatmeal into textural poetry.
Mastering Aperture for Stunning Depth of Field Effects
Think of your aperture as a spotlight operator. At f/1.8, I once made rosemary needles glow against a blurred bruschetta background. Switch to f/11, and suddenly every seed in a rye loaf demands attention. My rule: wider apertures simplify, smaller ones tell fuller stories.
During a cocktail shoot, f/4 kept the drink sharp while softening busy bar tools behind it. Depth field isn’t just technical—it’s narrative control.
Shutter Speed Ideas for Action and Motion Blur
Freeze splashing coffee at 1/1000sec or smear caramel drips into golden threads at 1/15sec. I keep a tripod handy for slow speeds—like capturing sugar dust settling on churros at 1/30sec. Motion blur adds life, but timing is everything.
Practical Tips for Styling and Composition Based on Light
Backlighting transformed my soup shots—it makes broth shimmer like liquid amber. For moody desserts, I angle light sideways to carve chocolate textures. Remember what professional chefs master heat control? We do the same with shadows.
Post-processing can enhance in-camera magic. A slight vignette draws eyes to your focal point, while clarity sliders make herb garnishes pop. But always nail the shot first—editing is seasoning, not the main ingredient.
Experiments, Personal Tips, and Hands-On Adjustments
Every kitchen tells a different story through its light. I’ve shot glazed donuts under flickering fluorescents and plated ceviche in golden sunset beams—each requiring unique adjustments. Here’s how I turn chaos into crave-worthy frames.
My Personal Exposure Recipes from Real Kitchen Shoots
During a dimly lit pasta shoot, I set my baseline to f/4, 1/60sec, and ISO 800. Steam rising from carbonara demanded a faster speed (1/125sec), forcing me to widen the aperture to f/2.8. The result? Razor-sharp pancetta curls against a creamy blurred background.
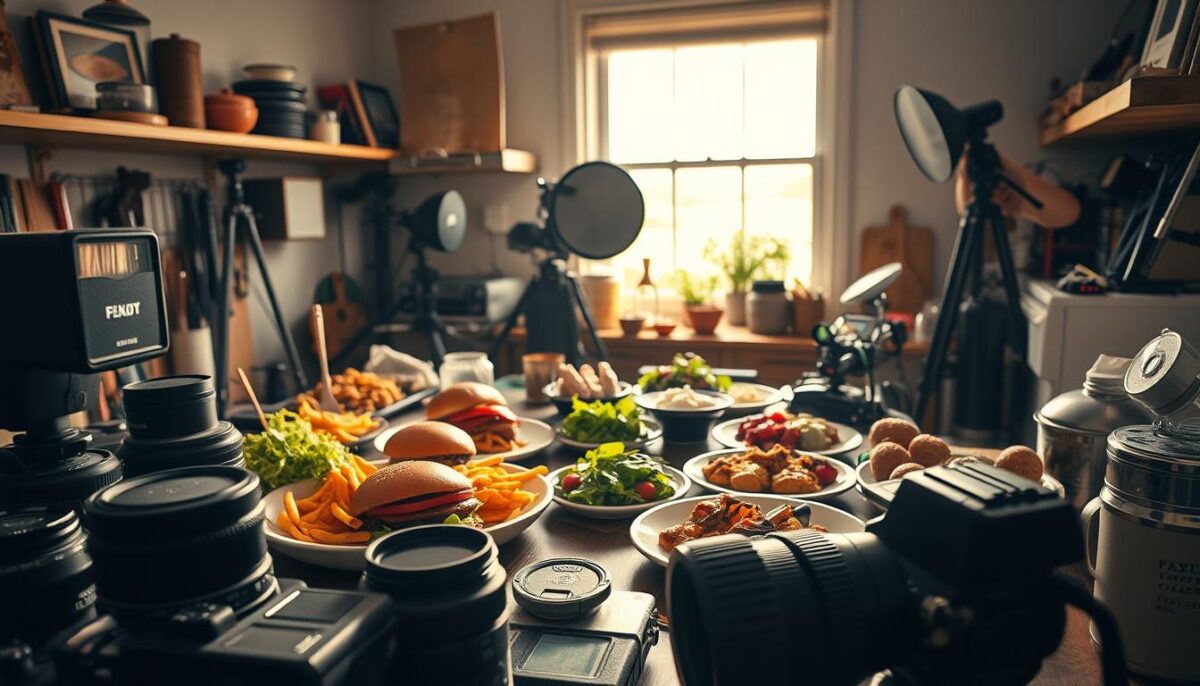
Another trick: When shooting handheld near a sizzling grill, I’ll push higher ISO to 1600 rather than risk motion blur. Noise reduction in post works better than salvaging shaky shots.
Fine-Tuning Settings During a Shoot
Live kitchens test your reflexes. Once, splashing oil nearly ruined my subject—I switched to burst mode (6 frames/sec) and raised shutter speed to 1/500sec. Out of 20 shots, three were keepers.
Three troubleshooting tips I live by:
- Grainy images? Lower ISO and use a tripod
- Flat colors? Adjust white balance manually
- Lost focus? Use single-point AF on your lens
I keep a grease-stained notebook with winning combos: “ISO 640 + f/5.6 = perfect soup steam” or “1/200sec freezes citrus zest mid-air.” Your turn? Start with one variable—master how light reacts when you nudge it.
Conclusion
Great shots blend technical skill with artistic vision. Through years of trial and error, I’ve learned that mastering aperture, shutter speed, and ISO is like perfecting a signature dish—each element enhances the others. There’s no universal recipe, but these principles always apply:
• Balance light like a pro: Lower ISO preserves detail, while faster shutter speeds freeze motion
• Use manual mode to control depth and texture
• Embrace imperfections—grain can add mood, blur can suggest movement
Your best camera is the one you understand deeply. I once shot a melting ice cream sundae at 1/500sec to capture sprinkles mid-air—a happy accident that became my signature style. Keep a tripod handy, but don’t fear handheld experiments.
Now it’s your turn. Try my pasta shoot settings (f/4, 1/125sec, ISO 400) as a starting point. Adjust one variable at a time and watch how light transforms your subject. Share your creations below—I’d love to see what mouthwatering magic you make!
Remember: Technical mastery sets the table, but creative risks make the feast. Every click brings you closer to images that don’t just show food—they serve an experience.
FAQ
How does aperture impact the look of my shots?
I love using wider apertures (like f/2.8) to blur backgrounds and make dishes pop. For group shots or flat lays, I switch to smaller apertures (f/8 or higher) to keep everything sharp. It’s all about controlling what your viewer focuses on!
When should I prioritize shutter speed over other settings?
If I’m capturing pouring coffee or a sizzling steak, I’ll set a faster speed (1/125th or higher) to freeze motion. For artistic drips or steam trails, I slow it down to 1/30th. Just grab a tripod to avoid shaky results!
Can high ISO ruin my food photos?
While grain can creep in, modern DSLRs handle ISO 1600+ surprisingly well. I push it in dim restaurants but balance with natural light when possible. Noise reduction in post helps clean up shadows without losing texture.
Why shoot in manual mode instead of auto?
Auto often overexposes whites or misreads shadows. Manual lets me lock in the exact mood—like keeping rich tones in chocolate cake or brightening pastel macarons. Practice makes it intuitive!
How do I create depth without a fancy lens?
Position your subject farther from the backdrop and zoom in. Even kit lenses at 50mm can achieve creamy bokeh at f/5.6. Add layers with herbs or utensils to enhance the 3D effect.
What’s your go-to setup for low-light kitchens?
I start at ISO 800, f/4, and 1/60th shutter. If images are dark, I boost ISO before adjusting other settings. A cheap reflector or white plate nearby bounces light onto the dish beautifully.
Any quick fixes for overexposed windows in food shots?
Lower highlights in editing tools, or shoot during golden hour. I’ll sometimes drape sheer curtains to soften harsh light while keeping the ambiance natural.
