Argentinian BBQ Secrets: How to Master Asado at Home
April 28, 2025
A Taste of Vietnam: How to Make Pho Like a Local
April 29, 2025There’s something magical about gathering loved ones on a chilly evening to craft food that feels like a hug. For me, it started with my grandmother’s weathered hands shaping dough into tiny parcels filled with love. Every fold carried stories of resilience and joy, turning simple ingredients into memories.
I’ll never forget the first time I tried making these dumplings alone. Flour dusted the counter like snow, and laughter filled the kitchen as my filling spilled out unevenly. But with practice, I learned how to balance flavors and techniques passed down through generations. Now, it’s my favorite way to bring warmth to dark, cold nights.
This guide isn’t just about cooking—it’s about celebrating connection. Whether you’re new to handmade dough or a seasoned home chef, you’ll discover how to create tender, savory bites perfect for sharing. I’ll walk you through every step, from choosing the right meat blend to mastering the iconic half-moon shape.
We’ll explore both classic methods and creative twists, ensuring your results are as comforting as a crackling fireplace. Let’s turn your kitchen into a space where stories simmer alongside hearty meals.
Key Takeaways
- Discover a dish with deep cultural roots and timeless appeal
- Learn techniques refined through family traditions
- Create freezer-friendly meals perfect for busy nights
- Master dough-making with simple, pantry-ready ingredients
- Adapt fillings to suit modern tastes while honoring classics
Embracing Winter with a Cozy Pelmeni Tradition
Snowflakes clinging to windowpanes always transport me back to my aunt’s kitchen, where steam fogged the glass and flour dusted our sleeves. That’s where I fell in love with the rhythm of folding dough around spiced meat—a ritual that turned cold afternoons into something golden.
My Personal Connection to Pelmeni
My partner’s eyes still light up when I pull out our wooden board for shaping dumplings. They once confessed that biting into these parcels reminds them of childhood snow forts and mittens drying by the radiator. That’s the power of food that carries history in every bite.
We’ve made it our December tradition to host “dumpling nights.” Friends arrive bearing rolling pins, and somehow, the act of crimping edges becomes a language of care. Laughter mixes with the hiss of the kettle, and for a few hours, the world outside feels softer.
What surprises newcomers most isn’t the time it takes—it’s how quickly minutes dissolve when hands are busy together. My grandmother used to say, “The best stories get told between kneading and boiling.” She was right. These gatherings weave connections tighter than any dough seal.
Now when frost patterns bloom on my windows, I reach for the mixing bowl instinctively. Each batch carries forward flavors from my past while creating space for new memories. Isn’t that what tradition truly means?
Essential Ingredients for Russian pelmeni winter recipe
Great meals often start with humble elements. When I first learned to make these pockets of joy, I realized their magic lies in balancing simplicity with precision. Let’s break down what you’ll need to create dough that’s supple yet sturdy and a filling that sings with savory depth.

For the Dough
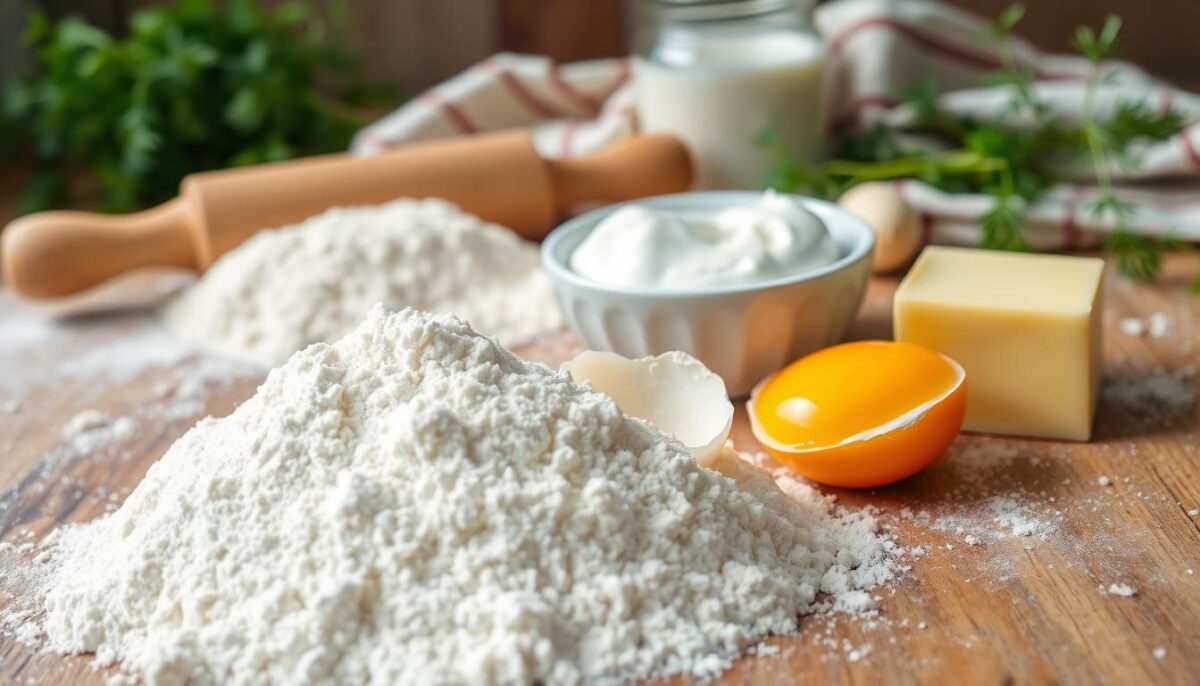
The foundation requires just four ingredients:
- 2 cups all-purpose flour (plus extra for dusting)
- ½ cup warm water
- 1 large egg
- ½ teaspoon fine salt
Theflourgives structure, while the egg adds elasticity. I’ve found lukewarmwaterworks best—it activates the gluten without toughening the dough. Mix until it forms a smooth ball that springs back when pressed.
For the Filling
Tradition favors a hearty blend:
- ¾ lb ground beef
- ¼ lb ground pork
- 1 small onion, finely grated
- 1 teaspoon salt
- ½ teaspoon black pepper
The pork adds juiciness, while beef brings robust flavor. Grating theonion(rather than chopping) distributes its sweetness evenly.Pro tip:Chill yourmeat mixturefor 30 minutes—it firms up the fats, making shaping easier.
Quality matters here. Opt for freshly ground meats with 20% fat content. Too lean, and your filling risks dryness. Too greasy, and the dough might split during cooking. Once combined, taste a tiny cooked portion to adjust seasoning. Trust me—it’s worth the extra minute!
Step-By-Step Process: Rolling, Shaping, and Filling the Dumplings
The moment your fingers sink into supple dough marks the beginning of transformation. I still remember the first time I rolled out that elastic circle, watching it become a canvas for flavorful pockets. Whether you’re a perfectionist craving uniformity or a free-form creator, this stage turns ingredients into edible art.
Tool Time: Mold or Fingers?
Grab your rolling pin and dust the surface lightly. Roll the dough to 1/8-inch thickness—thin enough to let flavors shine but sturdy enough to hold its shape. For mold users:
- Lay dough over the pelmenitsa’s dimpled surface
- Press filling into each circle with a teaspoon
- Top with another dough layer, then roll with the pin
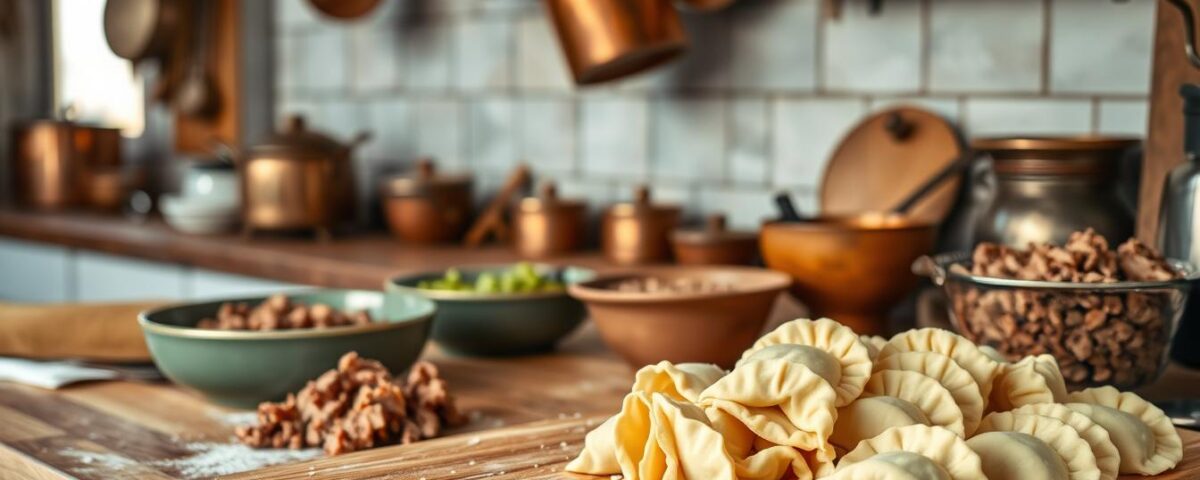
Hand-shapers: Use a glass to cut 2-inch circles. Dab edges with water using your hand—this glue-like step prevents unraveling. Fold into half-moons, then connect the tips for that signature look.
| Method | Speed | Consistency | Skill Level |
|---|---|---|---|
| Mold | Faster | Uniform | Beginner-friendly |
| Hand | Slower | Artisanal | Requires practice |
Secrets of the Seal
Press edges firmly with dry hands—moisture here causes slippage. If gaps appear, dab with a damp towel and reseal. Let shaped dumplings rest 10 minutes before cooking; this relaxes the gluten for tender results.
Cooking Methods: Boiling, Pan-Frying, and More
Watching these little pockets transform in your kitchen never gets old. I love how different cooking techniques can turn the same ingredients into entirely new experiences. Let’s explore two approaches that highlight their versatility.

Mastering the Boil
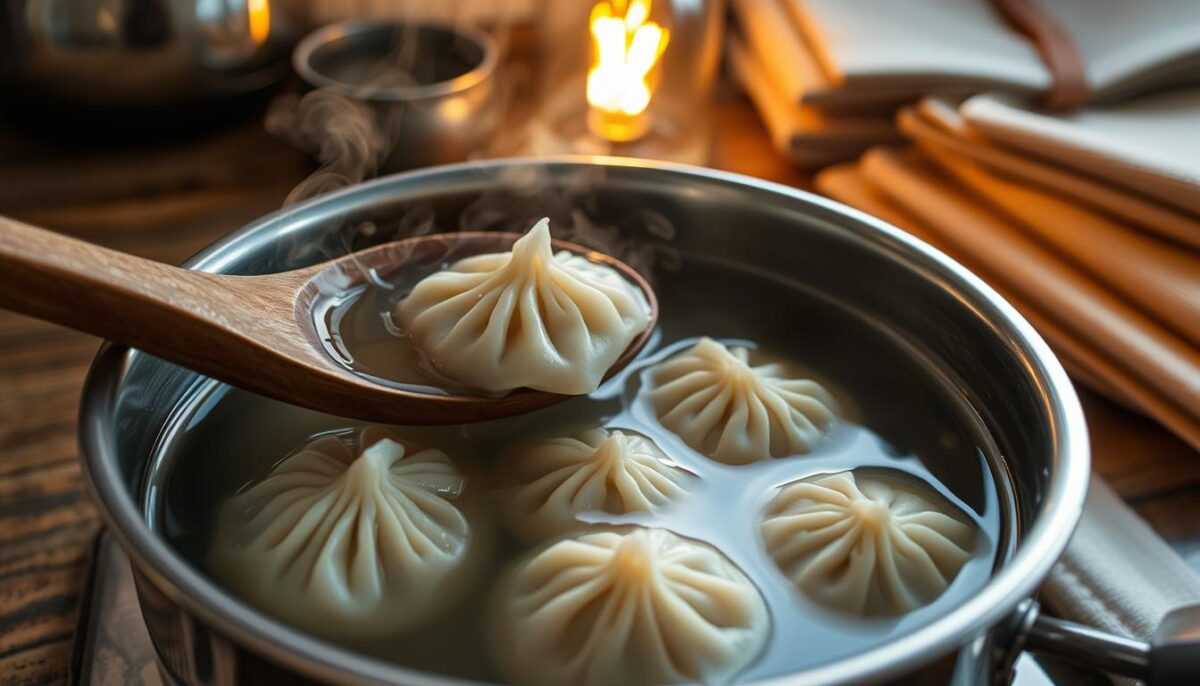
Fill a large pot three-quarters full with water. Add 1 tablespoon salt per quart—this seasons the dough as it cooks. Bring to a rolling boil before adding your dumplings.
Drop them in gently to avoid splashing. Stir once with a wooden spoon to prevent sticking. Within 3-5 minutes, they’ll float to the surface. Let them bob there for 90 seconds—this ensures the ground beef filling cooks through.
Optional Pan-Frying for a Crispy Finish
For crunch lovers: melt butter in a skillet over medium heat. Add boiled dumplings in a single layer. Cook 2-3 minutes per side until golden. The contrast of crispy bottoms and tender tops? Pure magic.
| Method | Texture | Time | Best For |
|---|---|---|---|
| Boiling | Tender | 5-7 mins | Traditional prep |
| Pan-Fry | Crispy | 8-10 mins | Leftover revival |
Serve either version with a dollop of sour cream and a drizzle of melted butter. For extra flair, sprinkle fresh dill or cracked pepper. I sometimes add caramelized onions—their sweetness balances the savory filling perfectly.
Storage, Freezing, and Reheating Your Pelmeni
Nothing beats having ready-to-cook comfort food waiting in your freezer. I’ve learned that proper preservation turns a single cooking session into weeks of quick, satisfying meals. Let’s explore how to keep your creations tasting fresh.

Best Practices for Preservation
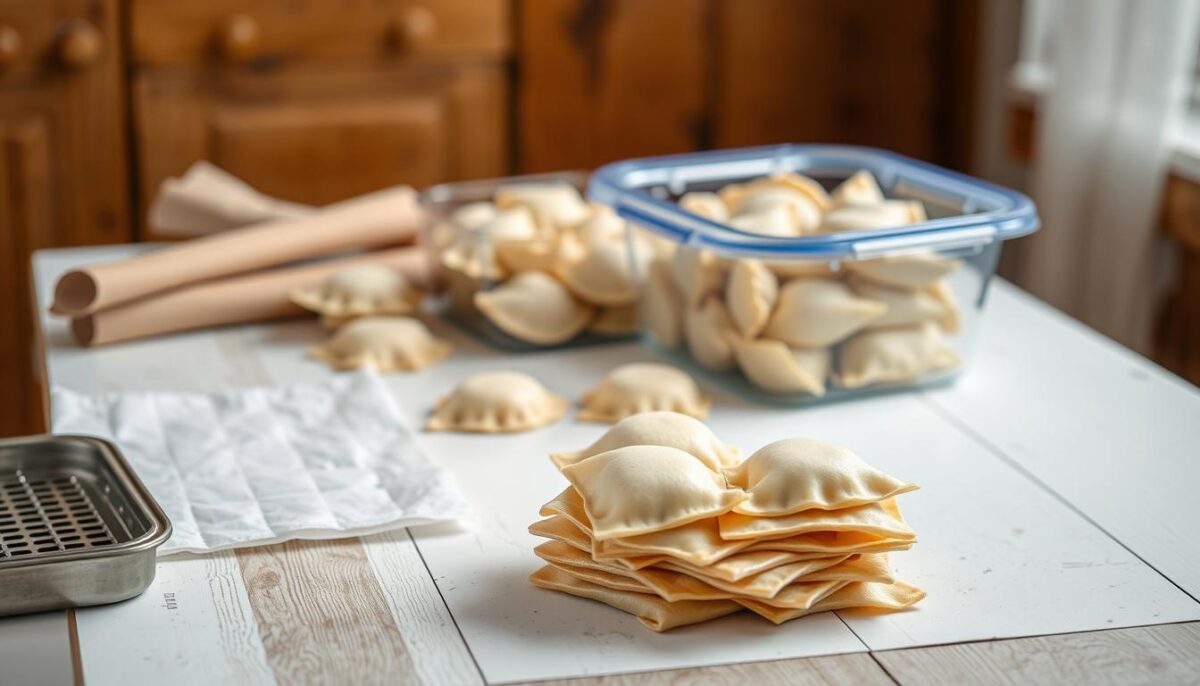
After shaping uncooked dumplings, line a baking sheet with parchment and dust lightly with flour. Arrange them in a single layer without touching. Freeze for 2 hours—this flash-freezing prevents clumping. Transfer to freezer-safe bags, squeezing out excess air.
Use a 1-cup measuring scoop to portion batches. This ensures even cooking later. Label bags with dates—they’ll stay fresh for up to 3 months. For easy thawing, I keep a small bowl of frozen dumplings in my fridge overnight.
| Method | Prep Time | Storage Duration |
|---|---|---|
| Flash Freeze | 2 hours | 3 months |
| Direct Bagging | 0 minutes | 1 month |
When reheating, avoid microwave sogginess. Boil frozen dumplings directly for 6-8 minutes—they’ll float when ready. For crispy results, pan-fry in butter over medium heat. Stir gently to prevent splitting. Serve with a dollop of sour cream mixed with fresh herbs.
Pro tip: Add 1 tablespoon of oil to boiling water. It creates a protective layer that keeps dough tender. Always check internal temperature—160°F ensures safe cooking. Your future self will thank you for these freezer treasures!
Conclusion
Creating these savory parcels is a labor of love that rewards patience. From blending flour and water into elastic dough to seasoning ground meat with sharp onion and warm pepper, every step builds flavor. Watching them bob in boiling water for those final minutes still feels like unlocking a delicious secret.
What makes them special? The crispy edges from pan-frying in golden butter. The tangy contrast of cool sour cream. Most importantly, the hands-on care in sealing each pocket—using just fingertips and a dab of water.
Gather your people around the table this week. Let laughter mix with the sizzle of butter as you shape your own batch. With quality ingredients and the techniques we’ve shared, you’ll craft bites that taste like heritage—and create new stories along the way.
Ready to try? Your kitchen awaits. Just remember: good meat, sharp pepper, and a few spare minutes are all you need to start. Who knows—this might become your new tradition.
FAQ
Can I use store-bought dough instead of homemade?
While homemade dough gives the best texture, store-bought wrappers work in a pinch. Just ensure they’re thin enough to hold the filling without becoming gummy.
How do I prevent dumplings from sticking when freezing?
Dust them generously with flour and spread them in a single layer on a tray. Once frozen, transfer to a bag. This keeps them separate and ready to cook anytime.
What meat alternatives can I use for the filling?
Ground chicken, pork, or even mushrooms work well. Just keep the fat content balanced—around 20% fat ensures juicy results without sogginess.
How long should I boil them for the best texture?
Cook until they float, about 5–7 minutes. Taste one to check doneness—the wrapper should be tender but not mushy, and the filling cooked through.
Can I prepare these ahead for holiday meals?
Absolutely! Freeze uncooked dumplings on a baking sheet, then bag them. They’ll keep for up to 3 months, making festive meals stress-free.
What’s your favorite way to serve these?
I love them with a dollop of sour cream, melted butter, and a sprinkle of dill. For a tangy twist, try a splash of vinegar or hot sauce.


